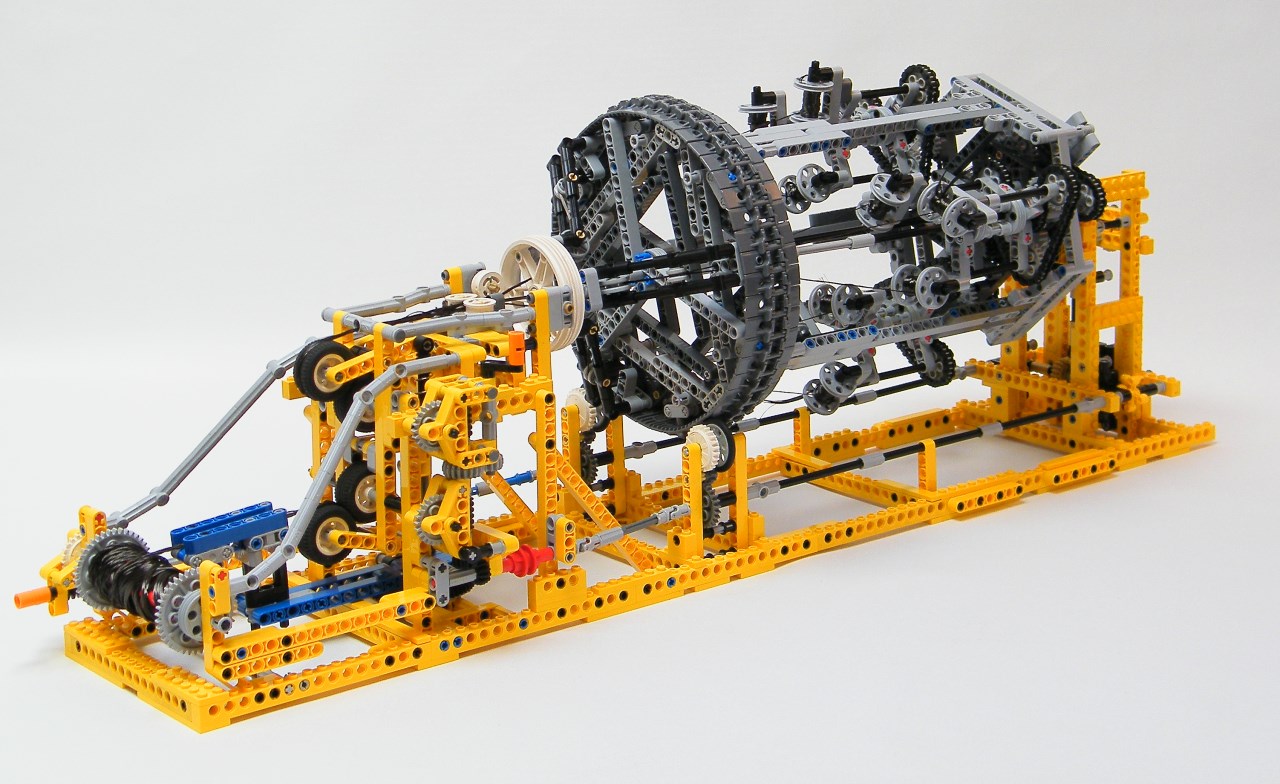
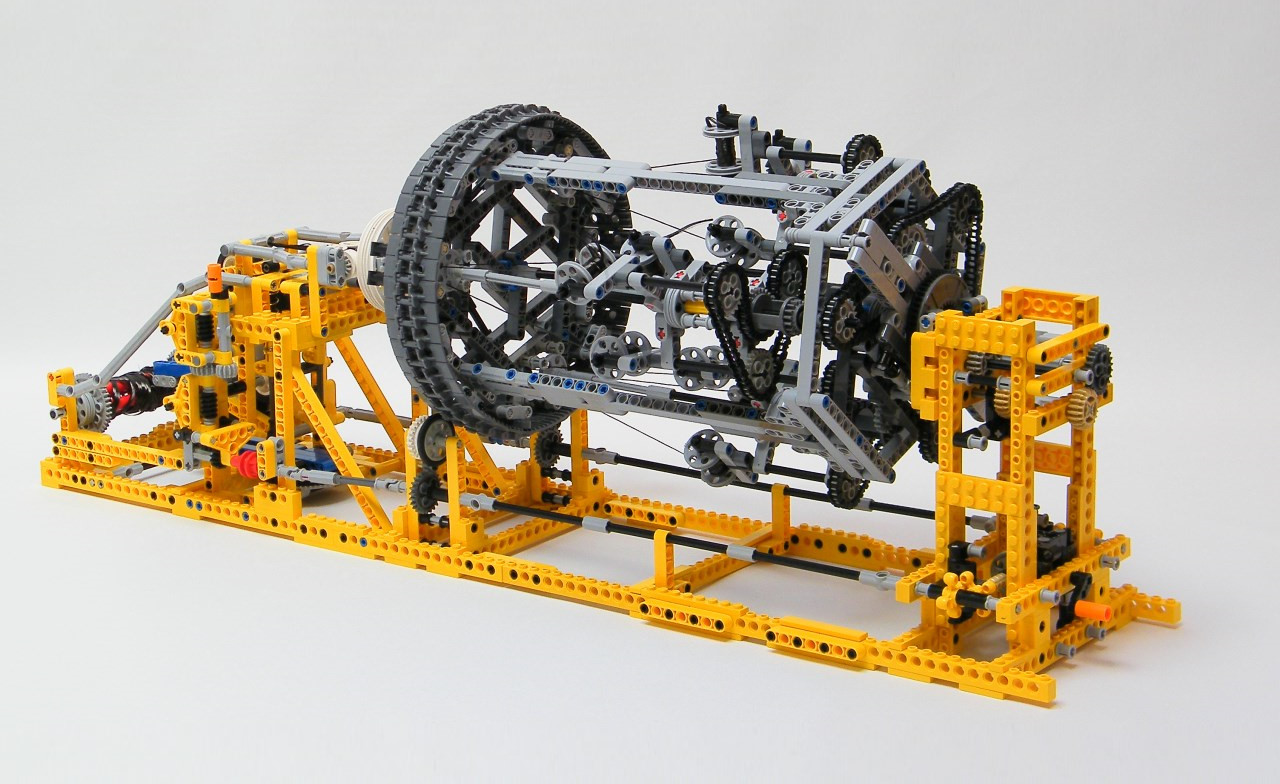
A lego braiding machine, powered by a single motor, which makes ropes and wristband.
How to build ?
If you have already the parts : you can purchase the PDF instructions only on the shop and build it with your LEGO parts. The instruction contains the partlist at the end, and you can check individually on Rebrickable, or in the instructions previews below.
If you do not have the parts, you can purchase the complete kit from two different retailers :
- Using Genuine LEGO Parts : This model is available on Buildamoc in a complete package including genuine LEGO parts plus the PDF instructions.
- Using non-Genuine LEGO Parts : This model is available on LesDiy Store in a complete package, including the parts (alternative bricks from China) and the PDF Instructions.
I have replaced the Train regulator and the extension cable in the instructions, by a simple Battery box in the partlist.
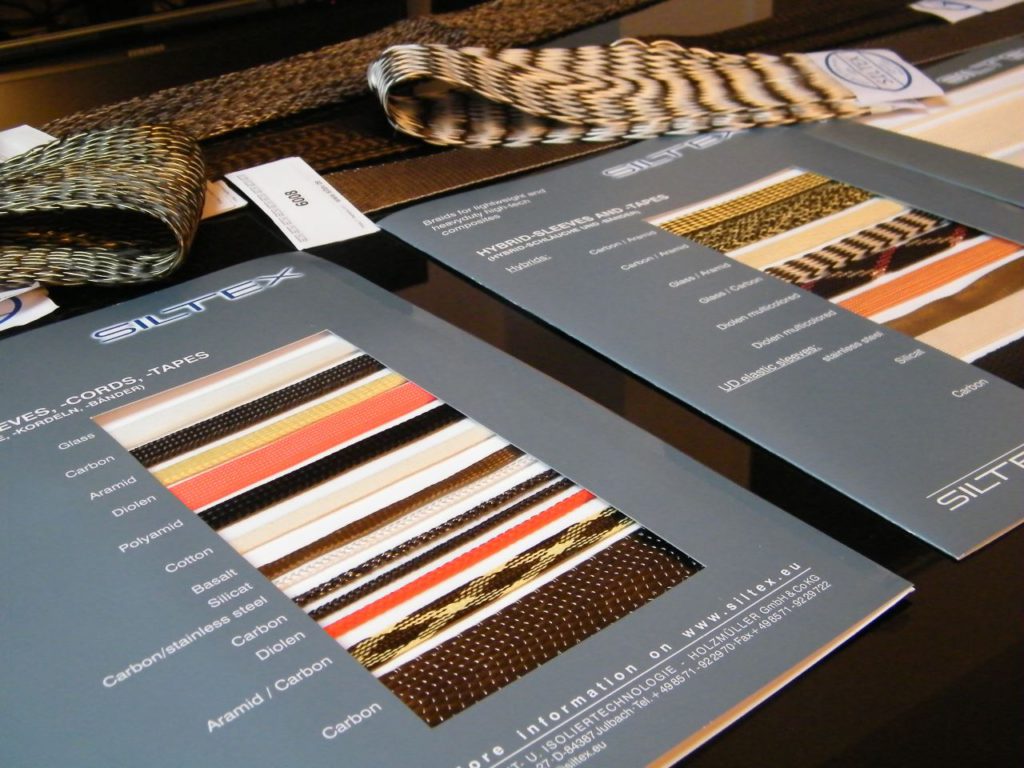
I use “DMC thread” standard product on the video, but you can use any other thread product (embroidery, wool etc.) Carbon fiber has been tested on the picture for the Siltex exhibition.
Direct purchase of the instructions
Braiding Machine
After my mechanical loom is 2012, I wanted to build more specific weaving and braiding machine. After months of research, I came back with a new idea based on rope maker : a braiding machine which can make of course rope but also wristband ! Then, I have started in April of 2013 to make some prototype of weaving and braiding machine and succeeded in making one truly functional in December of 2013.
How does it works ?
Basically, the braiding machine is composed of :
- A frame, mainly in yellow color which handles the mechanisms and features
- A big drum in gray color with the big circle which can rotate (driven by a turntable)
- 3 planetary devices which support 3 reels each and can also rotate (driven by a linked-chain)
- 3 reels on each planetary (therefore 9 reels) which can also rotate (driven also by 3 linked- chains)
- 3 die for weaving 3 strings in one (will be called the planetary dies)
- A principal die which weave the whole 3 weaves from planetaries in only one final weave
- A mechanism for pulling the whole weave
- A final drum system with alternate moving winding system to store the fabric
Everything started on the planetary system. 3 Reels are attached in one planetary. During the rotation of the principal drum, the three planetary turn in counterclockwise, while the 3 reels on each planetary turn in clockwise. You can see on the picture the main chain-link which drives the whole planetary and on the front the chain which drives the 3 reels on a planetary.
The 3 reels of one planetary then pass through a pulley with 6 holes and then in the die which is fixed in the drum. As the die is fixed and the planetary is mobile, the three string are forced to match together in one weaved string. The fact that each reel can turn on itself in counterclockwise of the planetary ensure that the whole weaving string doesn’t taken apart when they meet together. This is the important thing to understand how the weaving is working.
After this, 3 weaved string are in the weaving machine, then, they are interweaved to create the final wristband fabric. This is the role of the principal die (with the big white wheel). It works on the same principle as the precedent die. The wheel rotates with the 3 strings in, and the die (here is a liftarm T-shape gray) is fixed on the frame, the combination of the movement forces the 3 strings to meet together. And as the same principle seen above, each 3 weaved string rotates on itself (because the string is linked to the rotation of the planetary), which ensure the final fabric to not takes apart.
At this stage, the weaving fabric is made, then there is the pulling system which ensures the roll-out of the wristband. It is composed of 4 wheels which are tighten up by a spring. The final fabric passes through the 4 wheels, and as the 4 wheels is powered, it pulls the fabric. This part was certainly the most difficult part to create because of the many problems concerning the tension of the string and the rigidity of lego system. This final solution seems to be simple but there were many other tests before finding this.
And to finish, the final fabric are stored on a drum with a automatic alternate winding system (in blue on the picture). This system is composed of a drum and a device in blue which can be moved from the left to the righ and lead the fabric to wind correctly on the drum.
The functioning of alternate winding system is very simple. The blue device is linked to the drum with a linear motion gearing. When the device has reached the top point of left or right, there is a switch composed of a lever with a connecting rod which switches the rotation of the device, and then it goes on the other side. The inversion of the rotation if composed of a translation axle which drives a bevel gear with a gear or an other, the layout of the two bevel gears makes that the rotation inversion possible. The functioning is shown on the video and certainly more understandable.
To talk about performance :
- The braiding machine is set up in 15 minutes (place the 9 reels and pass the whole braids in the device),
- It weaves at 35cm/minute until the reel is fully empty
- Each time you setp up the loom (set up the 9 reels), 30cm is wasted (corresponded of the whole distance between the reel and the winding system)
- Each reel can be full of 3 meter of string which make around 1m50 of final wristband
- The braiding machine is really reliable, it can run with a motor by itself and make all braiding and stop until it has done (the winding system continue to turn but it has no consequence for the device).
Video and pictures
The video shows the functioning of the weaving machine and also the quality of the final fabric :
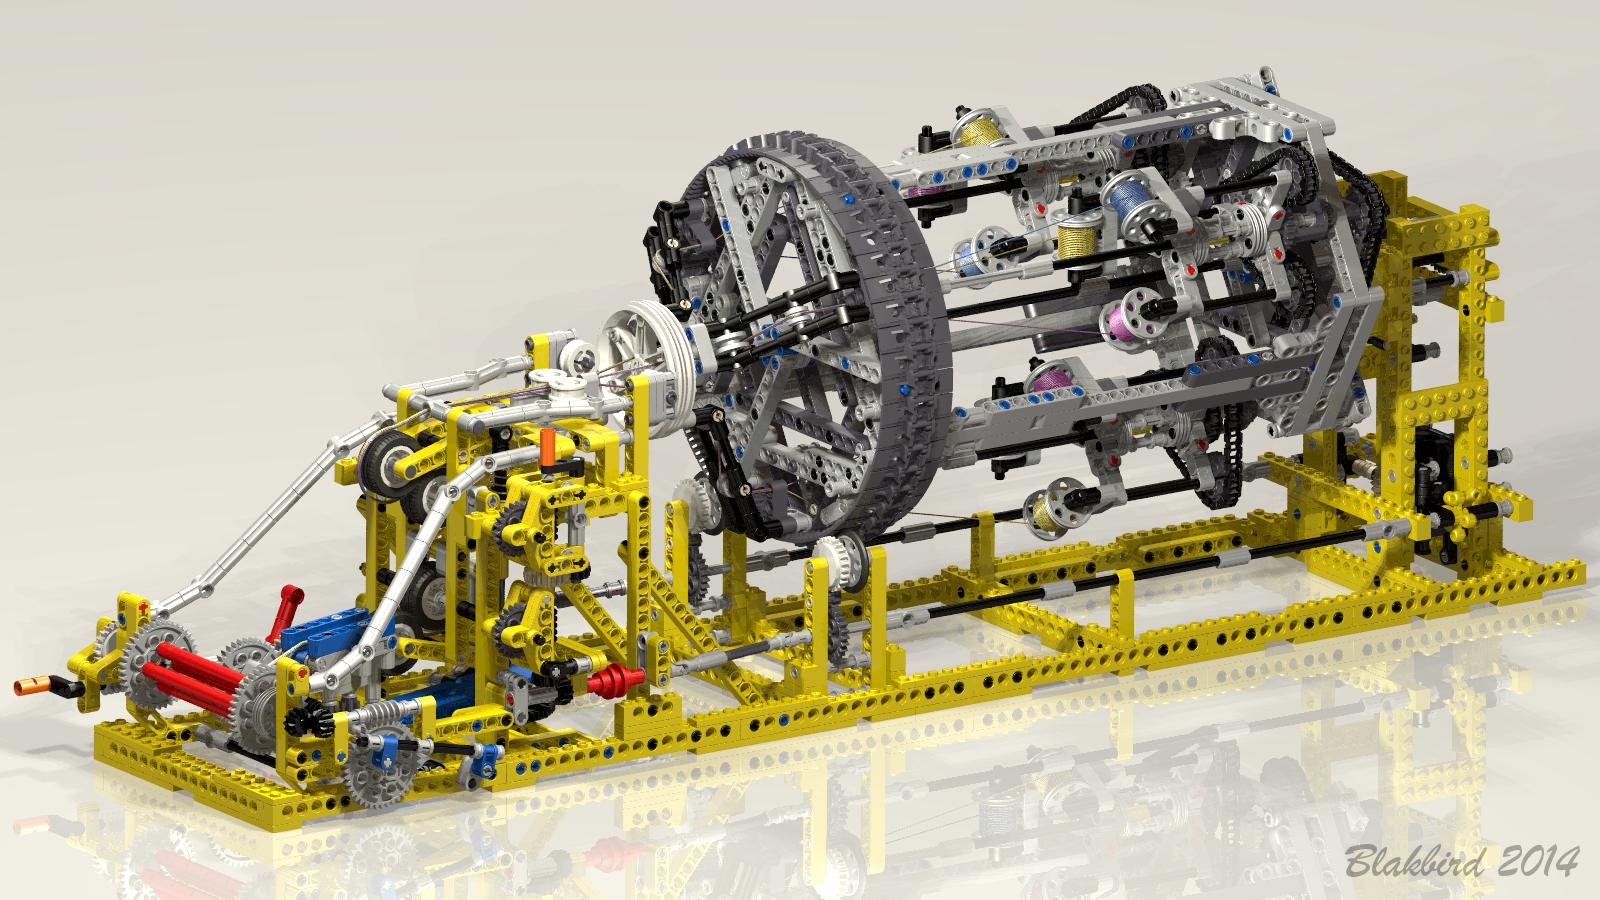
Blakbird has made some rendering of the mechanics :
You can see easily the whole component of the mechanical systems.
To conclude, this braiding machine were a big project for a long time ago for me. I have made many try and re-try and finally succeeded in making on different loom for the previous which can also weave fabric. The construction is also rather simple and very demonstrative for people who like mechanics, or kinetic art. I have made the design and color-scheme big points of the development of this project.
The Braided Material
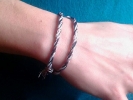
You can see on the picture the results of weaving process, first with colored braids, then an hybrid braiding with metalized braids, and at the end a carbon braid weaved at the JEC 2014.
The JEC exhibition
On the 29th of January 2014, the Company Siltex who manufactures lot of braiding composite material for automotive, space and aeronautic, has contacted me for display my braiding machine on their stand at the JEC Exhibition. The biggest European exhibition for composite industries, the JEC is also the largest composites industry organization in Europe and in the world with a network of 250000 professionals. The JEC has taken place the 11, 12 and 13th of march.
After the JEC, at the end of March, the loom has been returned to me, and I discovered that the loom has succeeded to braid composite material based on carbon, Aramid and Innegra ! You can see some picture of the raw material and some sample of what Siltex make.
I will received soon a video and some shot of the loom during the JEC. Concerning me, I am very happy to see my creations on a international industries exhibition and of course, grateful for Mr Obermeier to have contacted me 🙂
EDIT from May 14′ : Siltex has written an article about my loom that you can read here : http://www.siltex.de/so-funktioniert-flechten/2014/05/ And also a video of functioning from M Obermeier : https://www.youtube.com/watch?v=goned0hpYSI
Purchasing the creations or the instructions
If you do not have the parts, you can purchase the complete kit from two different retailers :
- Using Genuine LEGO Parts : This model is available on Buildamoc in a complete package including genuine LEGO parts plus the PDF instructions.
- Using non-Genuine LEGO Parts : This model is available on LesDiy Store in a complete package, including the parts (alternative bricks from China) and the PDF Instructions.
Pro – Building Instructions
I have made the building instructions as a photo sequence but after, an afol (Alex aka afol1969) has made the pro building instructions ! Therefore I can propose you two version, one for free based on photo and one for sale at 10€ in PDF with fantastic work of alex. The bill of material is available below. You do not need the Train Regulator 9V because you can put every current source (lego battery box, lipo battery box, train battery box) of just running by moving a crank.
You can buy the instructions with the following button for 10€. You can also buy other building instructions and get an automated discount. You will get 15% off for 2 PDF, and 20% off for 3 PDF on the total), available for all the instructions for sale on nico71.fr.
See it on the shop :
Braiding Machine
After your payment, you will be redirected to a page for downloading your instructions, and will receive also the link to download by email. Please check the spam box and be patient to receive it. If you have trouble to download your copy of the PDF after payment or open the document, do not make a paypal dispute, please contact me using the contact form. The link to download the instructions expires within 24h. Contact me if you have lost your instructions. Note that you can print it, but not copy or distribute. Thank you for supporting my work 🙂
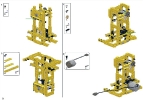
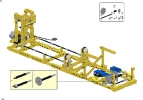
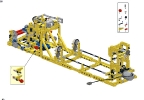
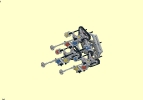
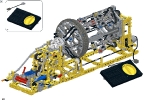
Here is some preview of the building instructions :
Photo sequence Instructions
The two Zip-files for build and set up the braiding machine :
Braiding_Machine_Instructions – 15mo
How_To_Set_Braiding_Machine – 3mo

(19) Comments
Thank you for your comment, I think this is I have done on my fast 5 reels braiding machine
The use of a rotary spool for the thread increases the risk of jamming. Most workers in light lines these days prefer to use a figure-8 spool, as every line lies on top of all the others, by definition, so unspools reliably.
Instead of wrapping the line around something, you wrap it around two pillars – your fingers, for example – such that it follows a figure-8 path, always crossing in the middle. Make a Cornu with your fingers, middle two folded down, little and index extended. Those are the pillars. Instead or wrapping around and around them, each time the line passes across the middle, front to back, in an 8. The stack will never tangle, and tends to hold its shape when you lift it off.
Hello I used string from DMc company, which is a basic string like that For the wind of the string, I just carefully wind it from the roght to the next and again and again with soft tension in order to not lock the string inside.
I was able to build this cool machine without too much trouble. What kind of string works best? The plastic material sold at craft stores jammed and didn’t work. How were you able to wind the string around the bobbins by hand so neatly?
Thanks! I was able to build the machine without too much trouble. The regular thread sold at craft shops jams too easily. What kind of thread do you recommend? How were you able to wind the thread so neatly around the bobbins by hand?
Hello, sorry for the old plans, this is not very complete. For the motor, you have to take a XL power function rotors but you can also operate by the hand with a crankshaft. For the power supply you can either use standard battery box but I prefer to control the speed, you can so use old train controller (but expensive and not in very good condition) or news train remote with IT receiver . Have a nice building !
I purchased the plans and acquired the parts for this machine. Can you tell me the part number of the motor and control unit? They were not included in the materials list. Also, what type of yarn do you recommend for this machine?
Hi I am trying to build my own brainding machine but I couldn’t figure out how the winding system work .Would you mind to teach me about the alternate winding system?
[…] the threads under and over each other. Building one of these machines must be incredibly difficult; building one out of LEGO Technics pieces is darn near […]
[…] the threads under and over each other. Building one of these machines must be incredibly difficult; building one out of LEGO Technics pieces is darn near […]
Nico,
Thank you for sharing!! I built one over the holidays to show our LEGO League kids (8-10 year olds) how gears can be used.
Nico, I have built your anmazing braiding machine. It was a tough build but worth the effort. I am having a bit of trouble getting it to work smoothly. The drive chain that links the three spool rotors to the central drive differential demeshes fairly often. I have been very careful with alignment of the gear wheels but still not quite right. I wondered if you had any suggestions for smoother operation. I have one small comment about the instruction pictures. The position of the reverse gear lever spring arm shown in picture 52 does not correspond with the lever psition shown in picture 57 (picture 52 shows the situation for the lever position in picture 58). Easy to fix once I realised. Thanks for the design and the instructions it is a very impressive model.
Hi, Nico !
really !
you do a nice job, fantastic.
Une belle patience, c’est formidable!
Hei Nicolas,
This is a brilliant machine!
And I think you are a genius 🙂
Keep inventing!
anu
[…] the operation of this machine and a illustrated instructions along with parts list can be found on Nico71′ or via the adjacent QR […]
[…] dieser Maschine sowie eine bebilderte Bauanleitung nebst Teileübersicht finden Sie auf Nico71′ oder via nebenstehendem […]
Good afternoon, congratulations your projects are very good. Where can I find parts? you sell your ready designs or parts?
Bonjour monsieur,
Je crois que la liste que vous cherchez pour creé une petite “ourdissoir” est sur la lien suivant;
http://bricksafe.com/files/spekfresser/test/Braiding%20Machine.pdf ou ici http://www.techlug.fr/Forum/topic7706-60.html
Lycka till! / Bonne chance!
cher monsieur,
j’ai 70 ans et mon enfance a été bercée par l’usine de tissage de mon père, usine qui a fermé il y a 20 ans.
Dans cette usine, il y a
vait une immense machine appelée “ourdissoir” qui avait pour fonction de prendre des fils sur des cônes, puis de les enrouler autour d’un immense tambour et enfin de les dérouler sur des “ensouples” c’est a dire des tubes qui ensuite étaient installés sur les métiers à tisser
Bien entendu, votre machine est un peu différente, mais elle a créé chez moi un choc, et je souhaite essayer de la construire
Est-il possible d’avoir la liste des pièces nécessaires ? et peut-on les commander à LEGO ,
je vous remercie de votre aide et vous adresse mes sincères compliments
Jean François COGNAT
Comments are closed.