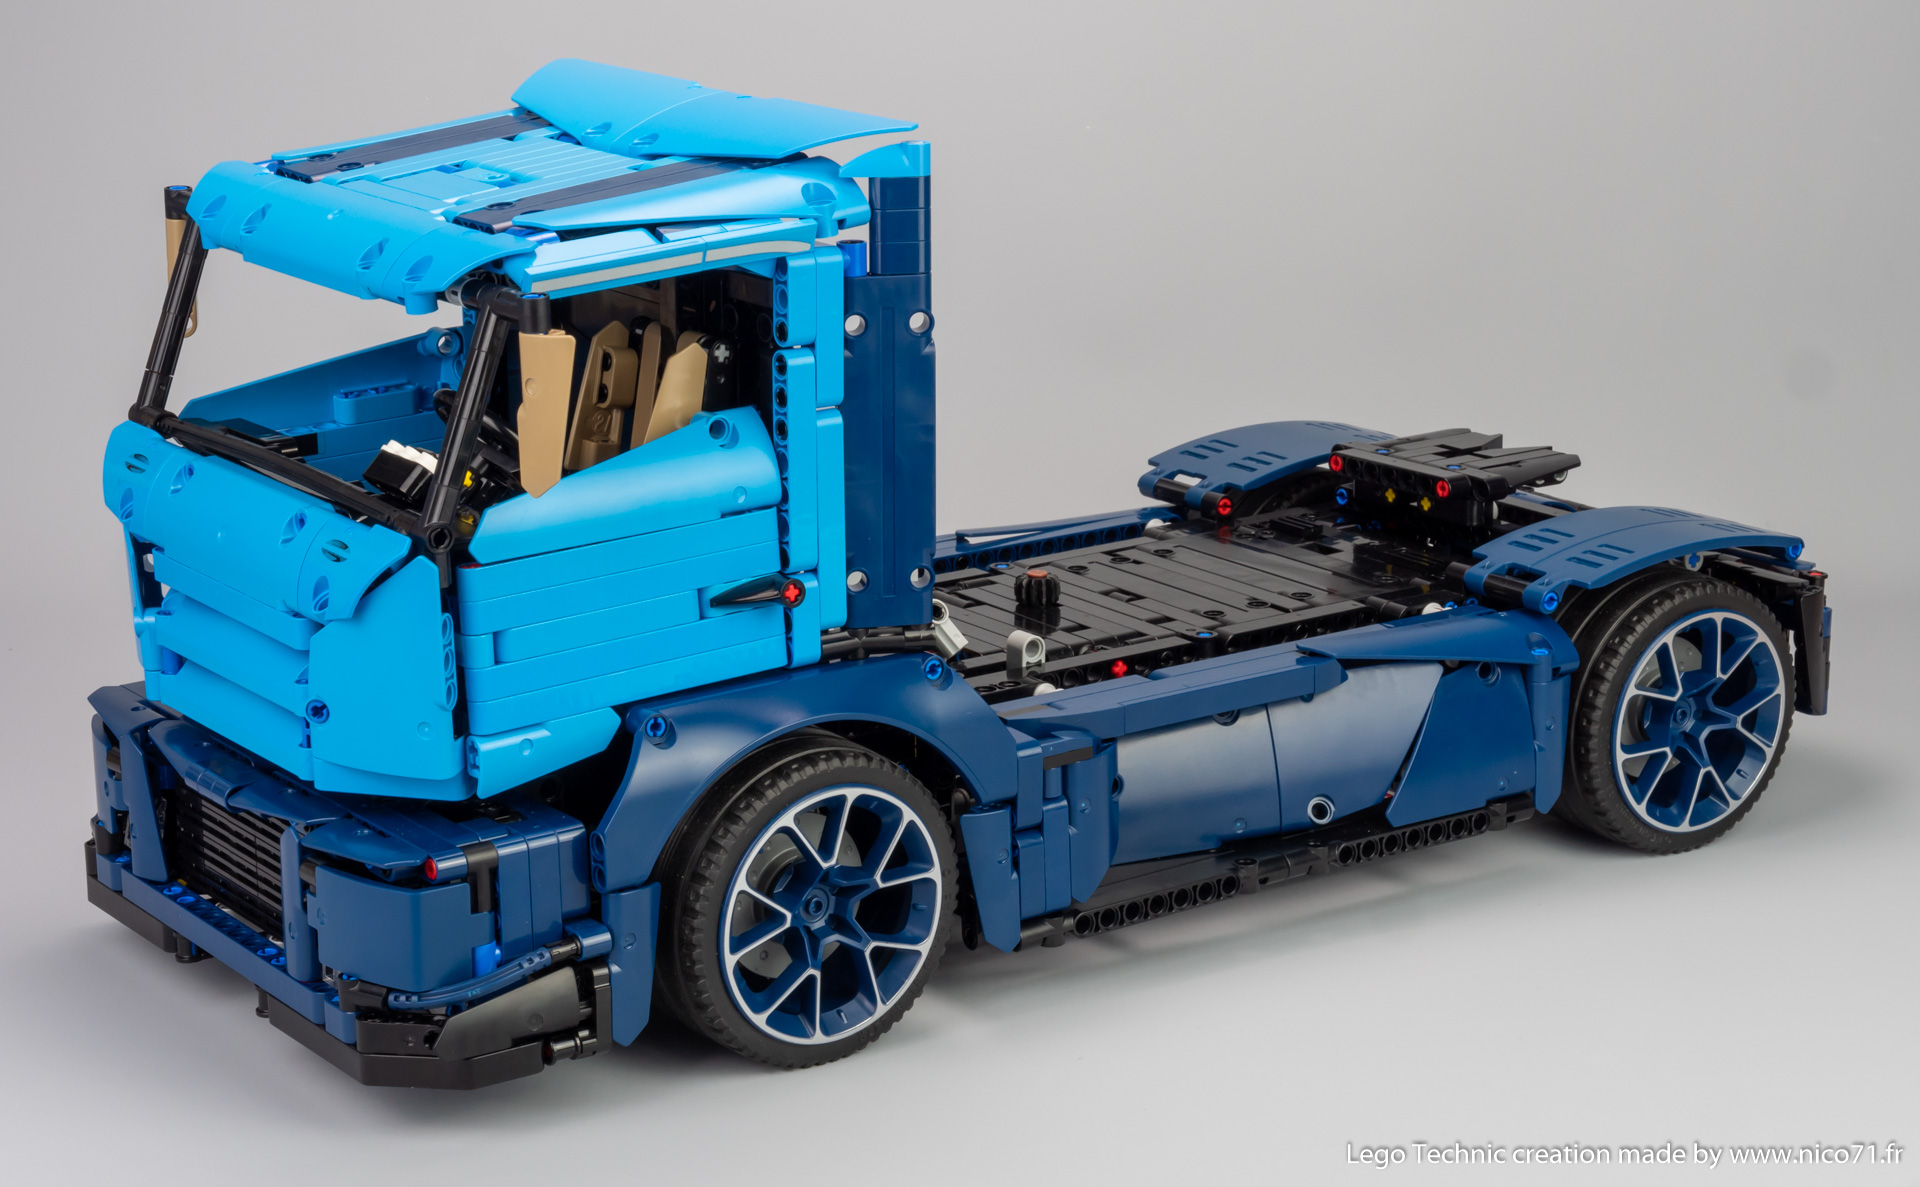
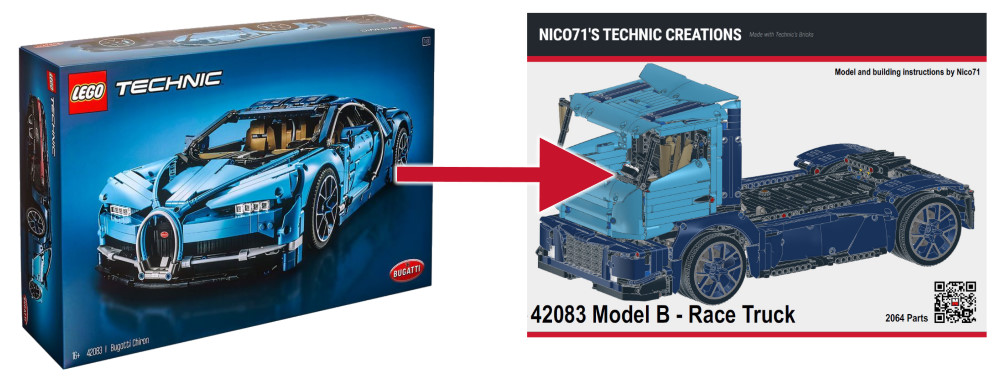
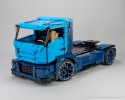
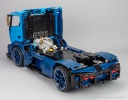
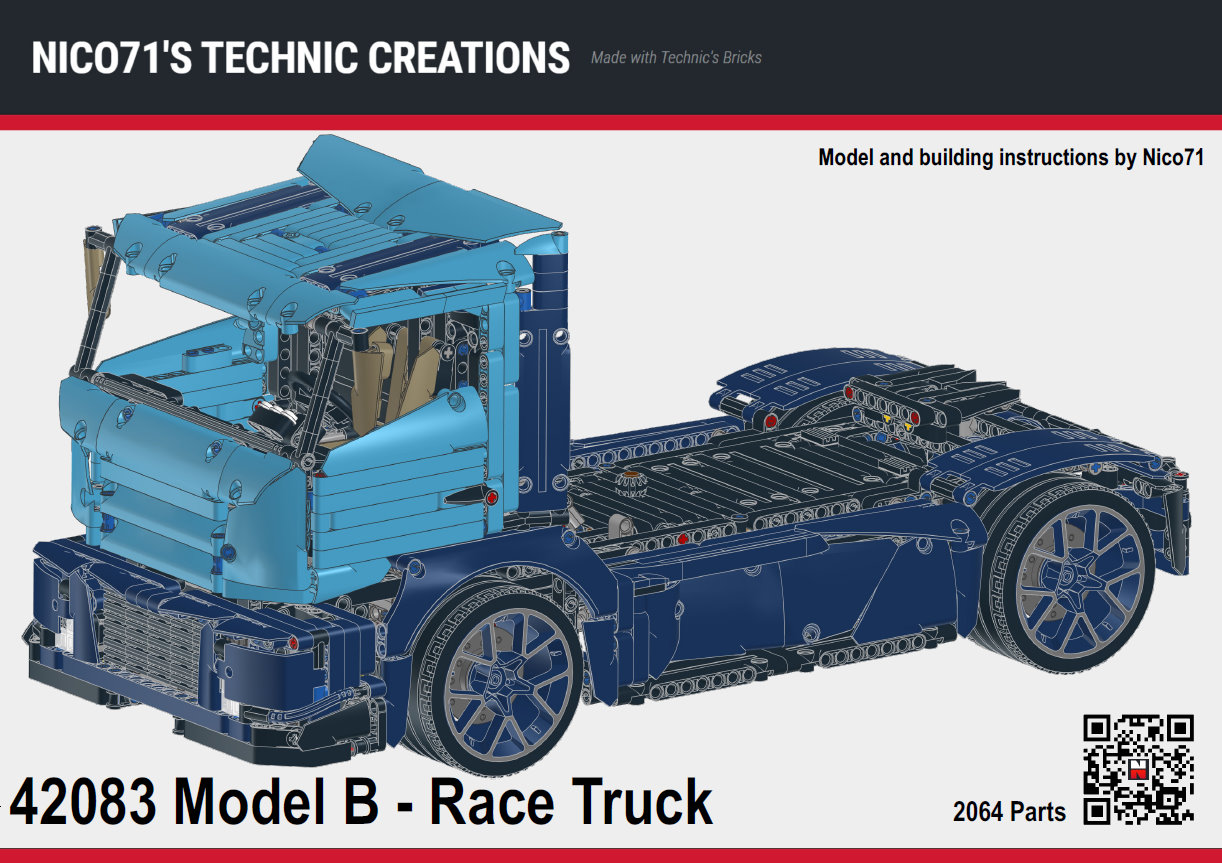
An alternate model of the 42083 – Bugatti Chiron, as a Race Truck. Features, steering with steering wheel and HOG, 8 speeds DNR gearbox with controls inside and outside the cabin, suspensions, openable elements and tilting cabin, with building instructions.
Direct purchase of the instructions
Using Genuine LEGO Parts : If you own the 42083 Lego Technic Set – Bugatti Chiron, you can build this creation without any additional parts. You only need to purchase the instructions on this page.
42083 Model B – Race Truck
Using non-Genuine LEGO Parts : This model is available on LesDiy Store in a complete package, including the parts (alternative bricks from China) and PDF Instructions (the same as on this page).
Context
After creating my alternate model for the 42115 – Lamborghini Sian, I wanted to make an other alternative for a super car set that I had : the Lego Technic 42083 – Bugatti Chiron. I wanted at first to create another car with the parts, but considering the limited inventory and two-tone colour, it was hard to find a suitable model. The limited number of existing alternate builds for this set have proven that it is not easy to come up with a solution. So, as for my 42115 alternate model, I have made something “different” and built this race truck inspired by the Mercedes Tankpool24. Again, it should be my first 1/8 alternate super car, but it is a 1/12 truck.
Functions
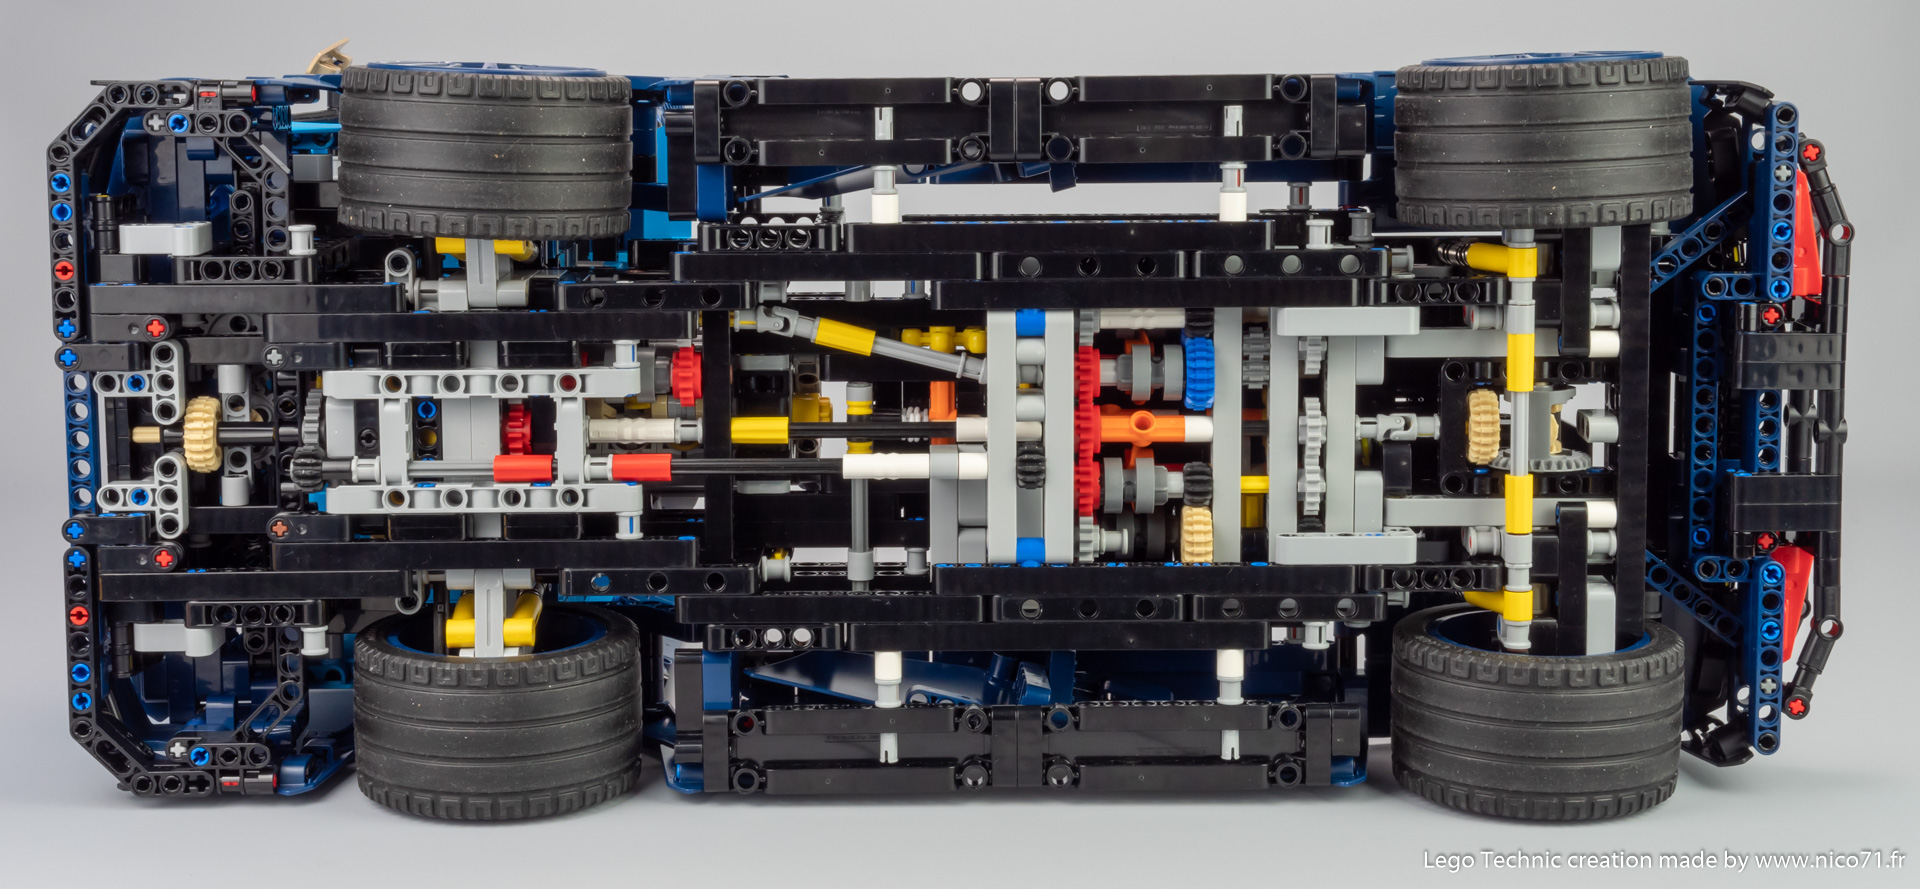
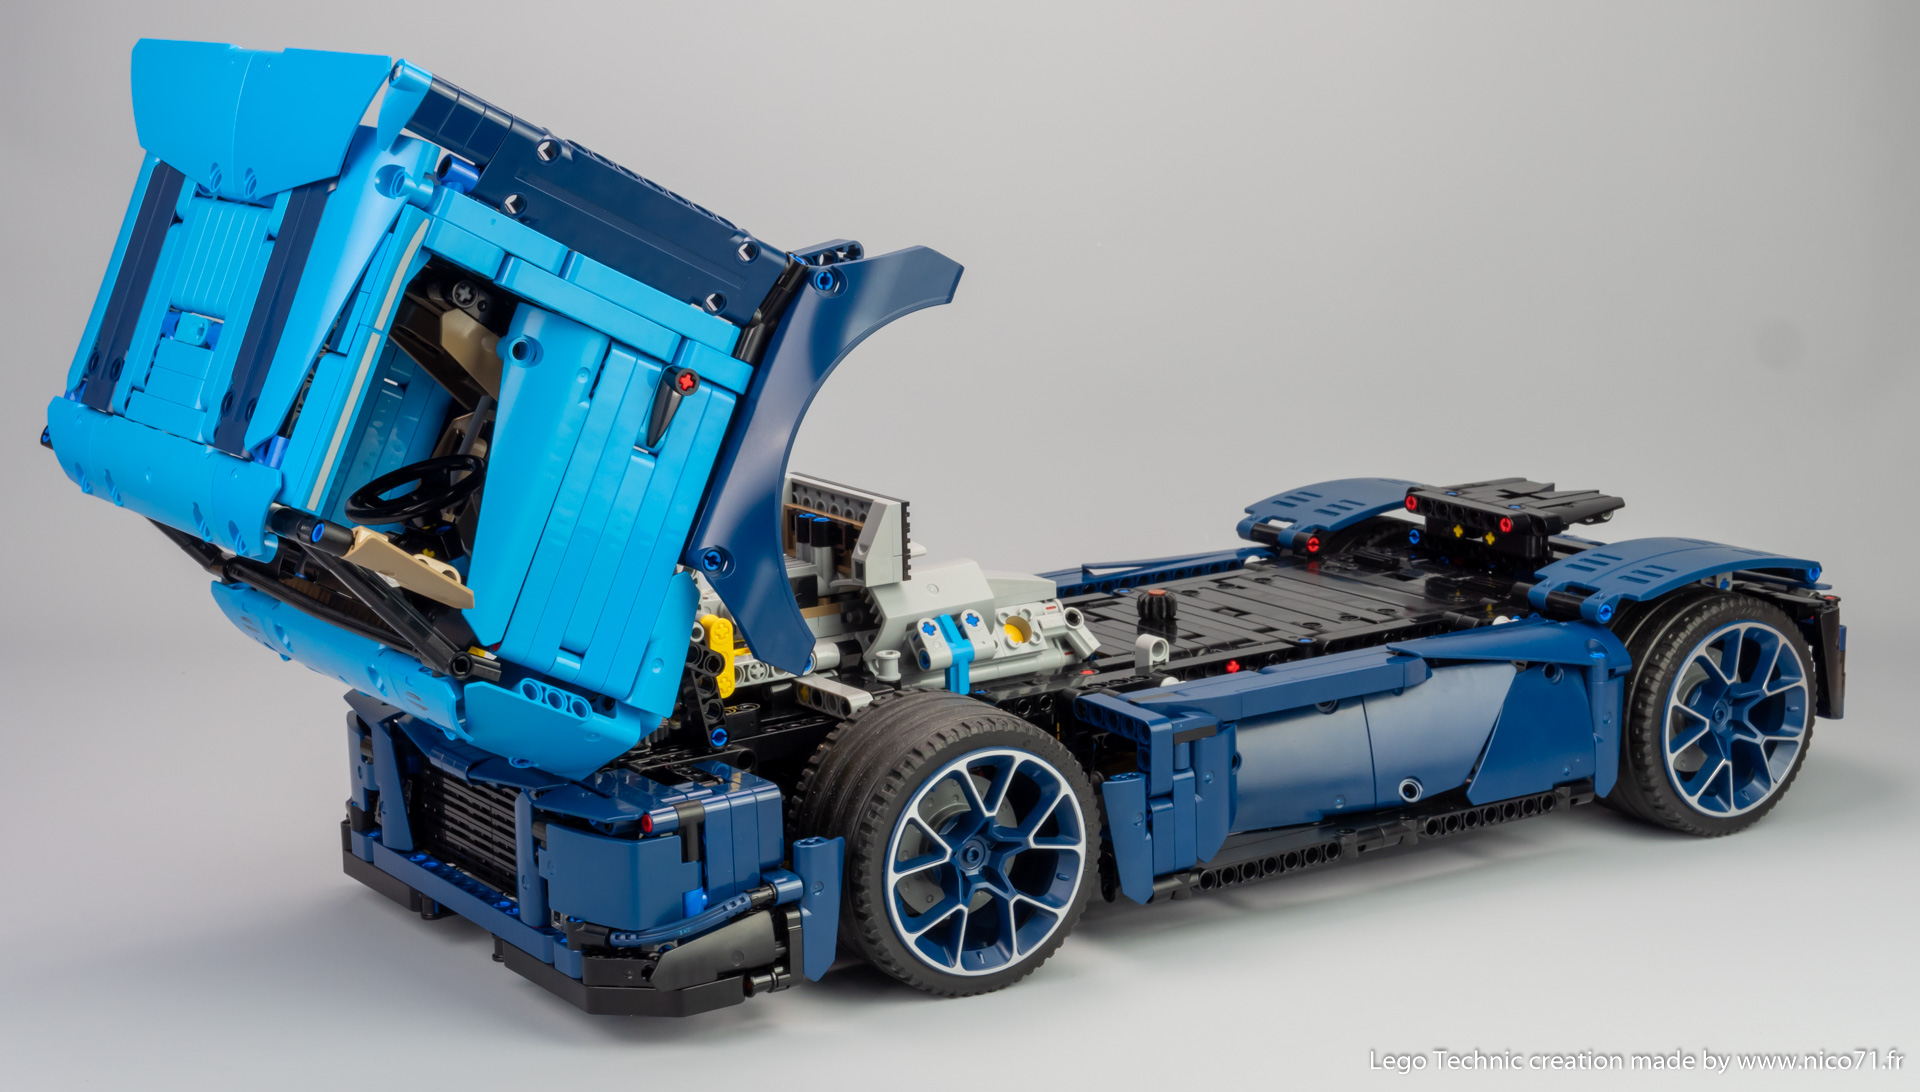
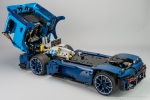
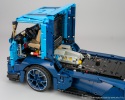
The functions are quite standard but with interesting design behind. First the steering, it is operated by a rack and pinion though a bevel gearing connected to a hand of god located on the centre of the chassis. I did not want to put the HOG on the top of the cabin to avoid the possible tilting of the model due to the overhand of the heavy cabin. The steering wheel is connected to the steering mechanism with a U-join and a 8-tooth gear which drives a 24-tooth on the chassis. It enables to be quick disconnected when the cabin is tilted.
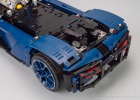
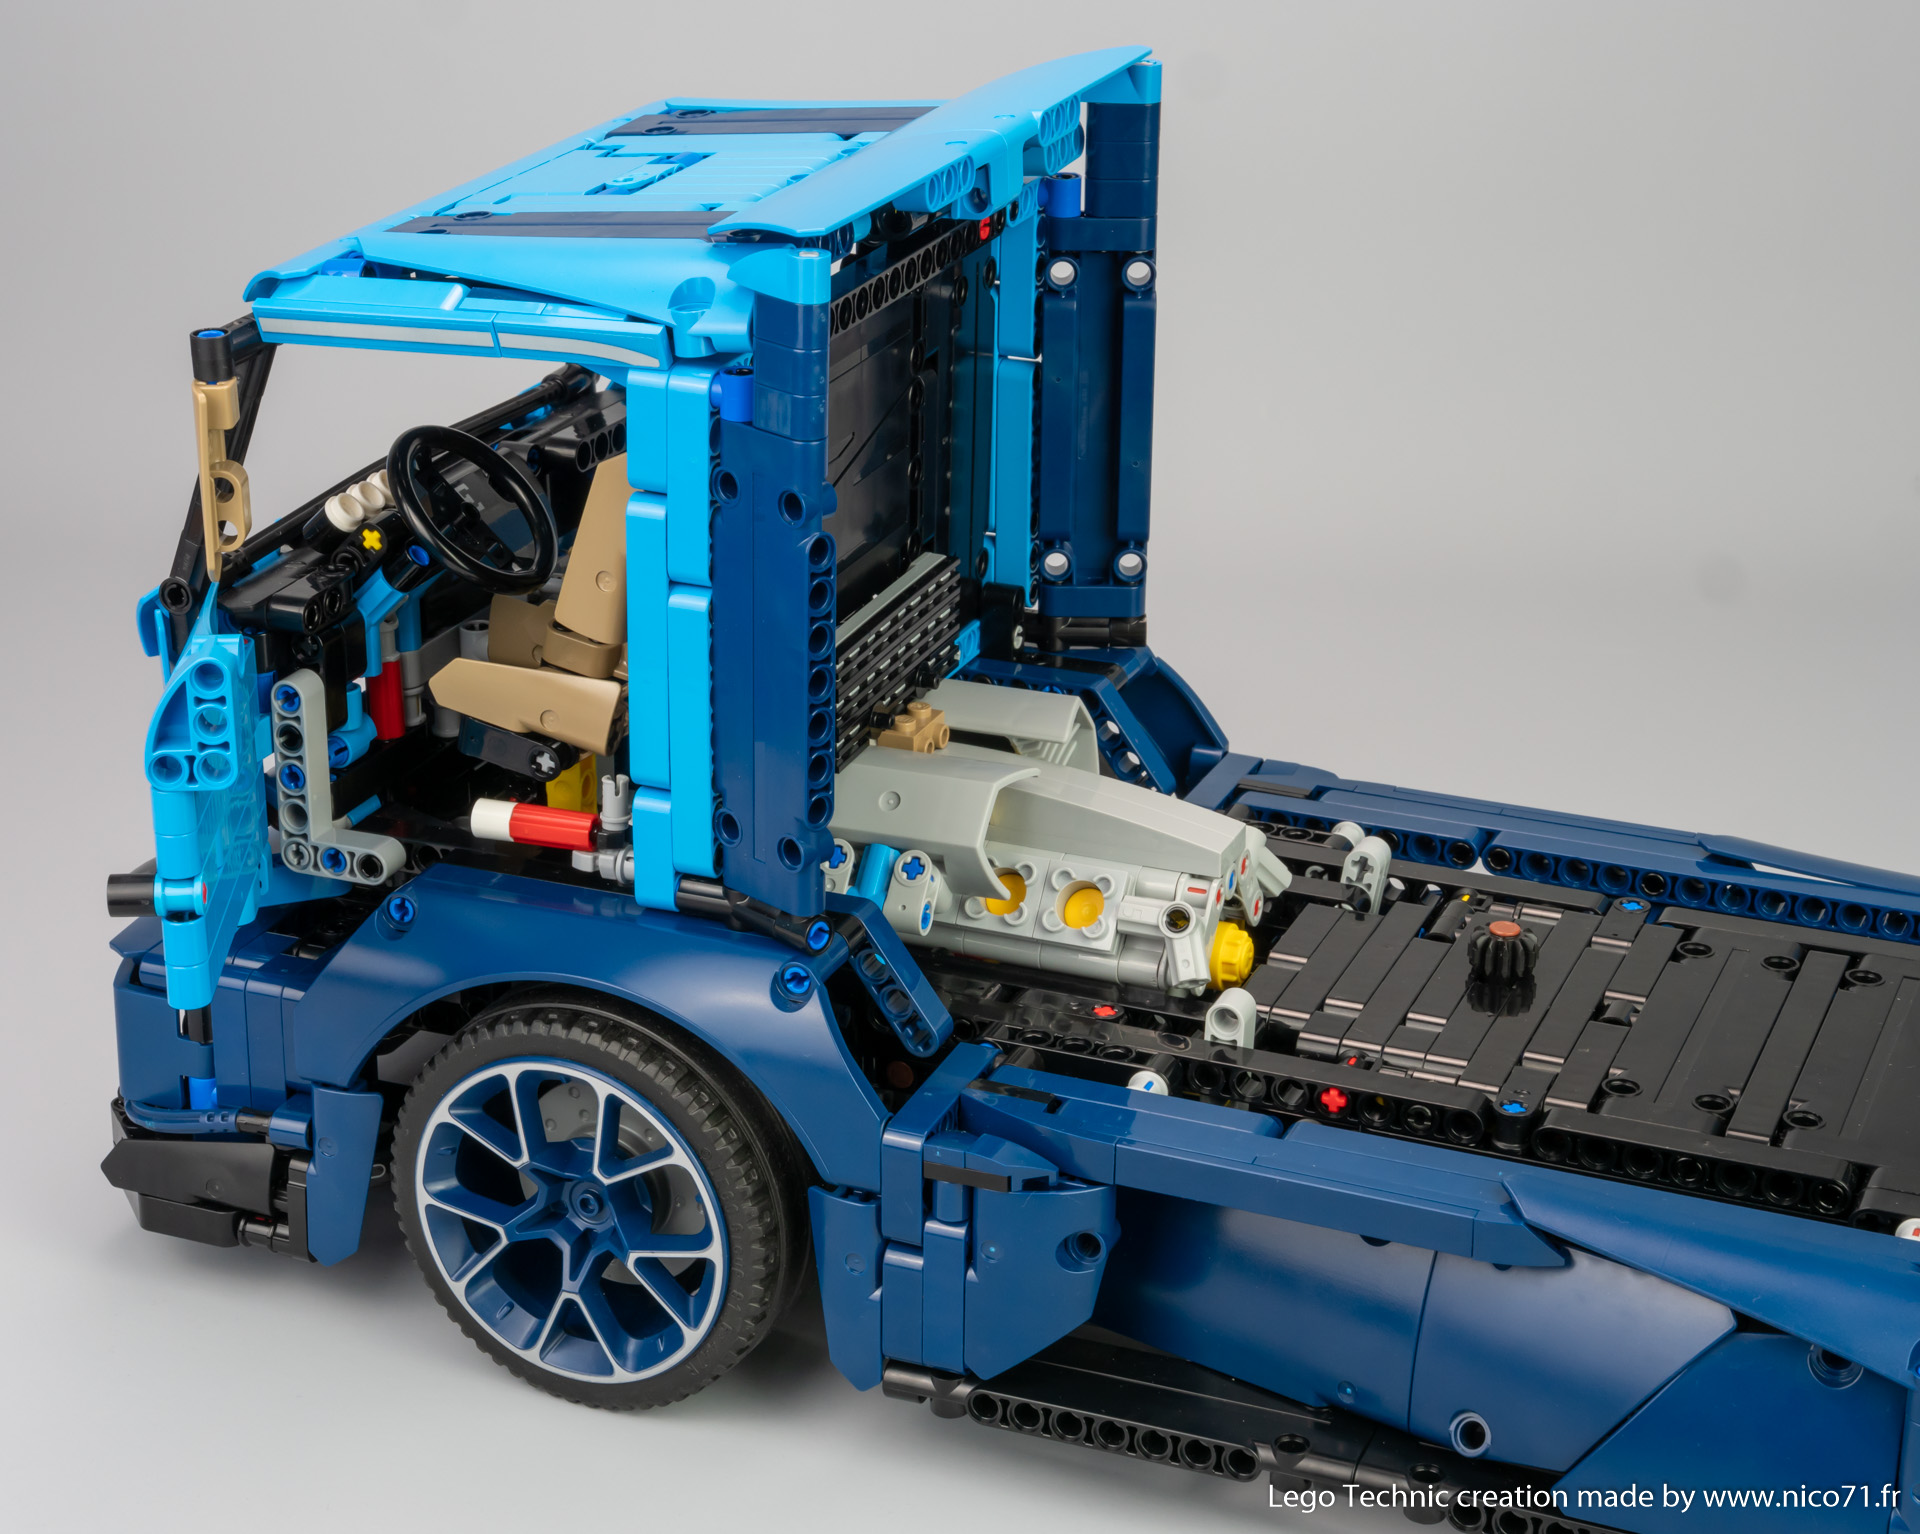 The second functions are the suspensions. The front suspensions are double wishbone with two shock absorbers by side, to compensate the heavy weight of the cabin. The rear suspensions is a rigid axle with only two shock absorbers with more angled design to compensate the difference of weight between the front and rear.
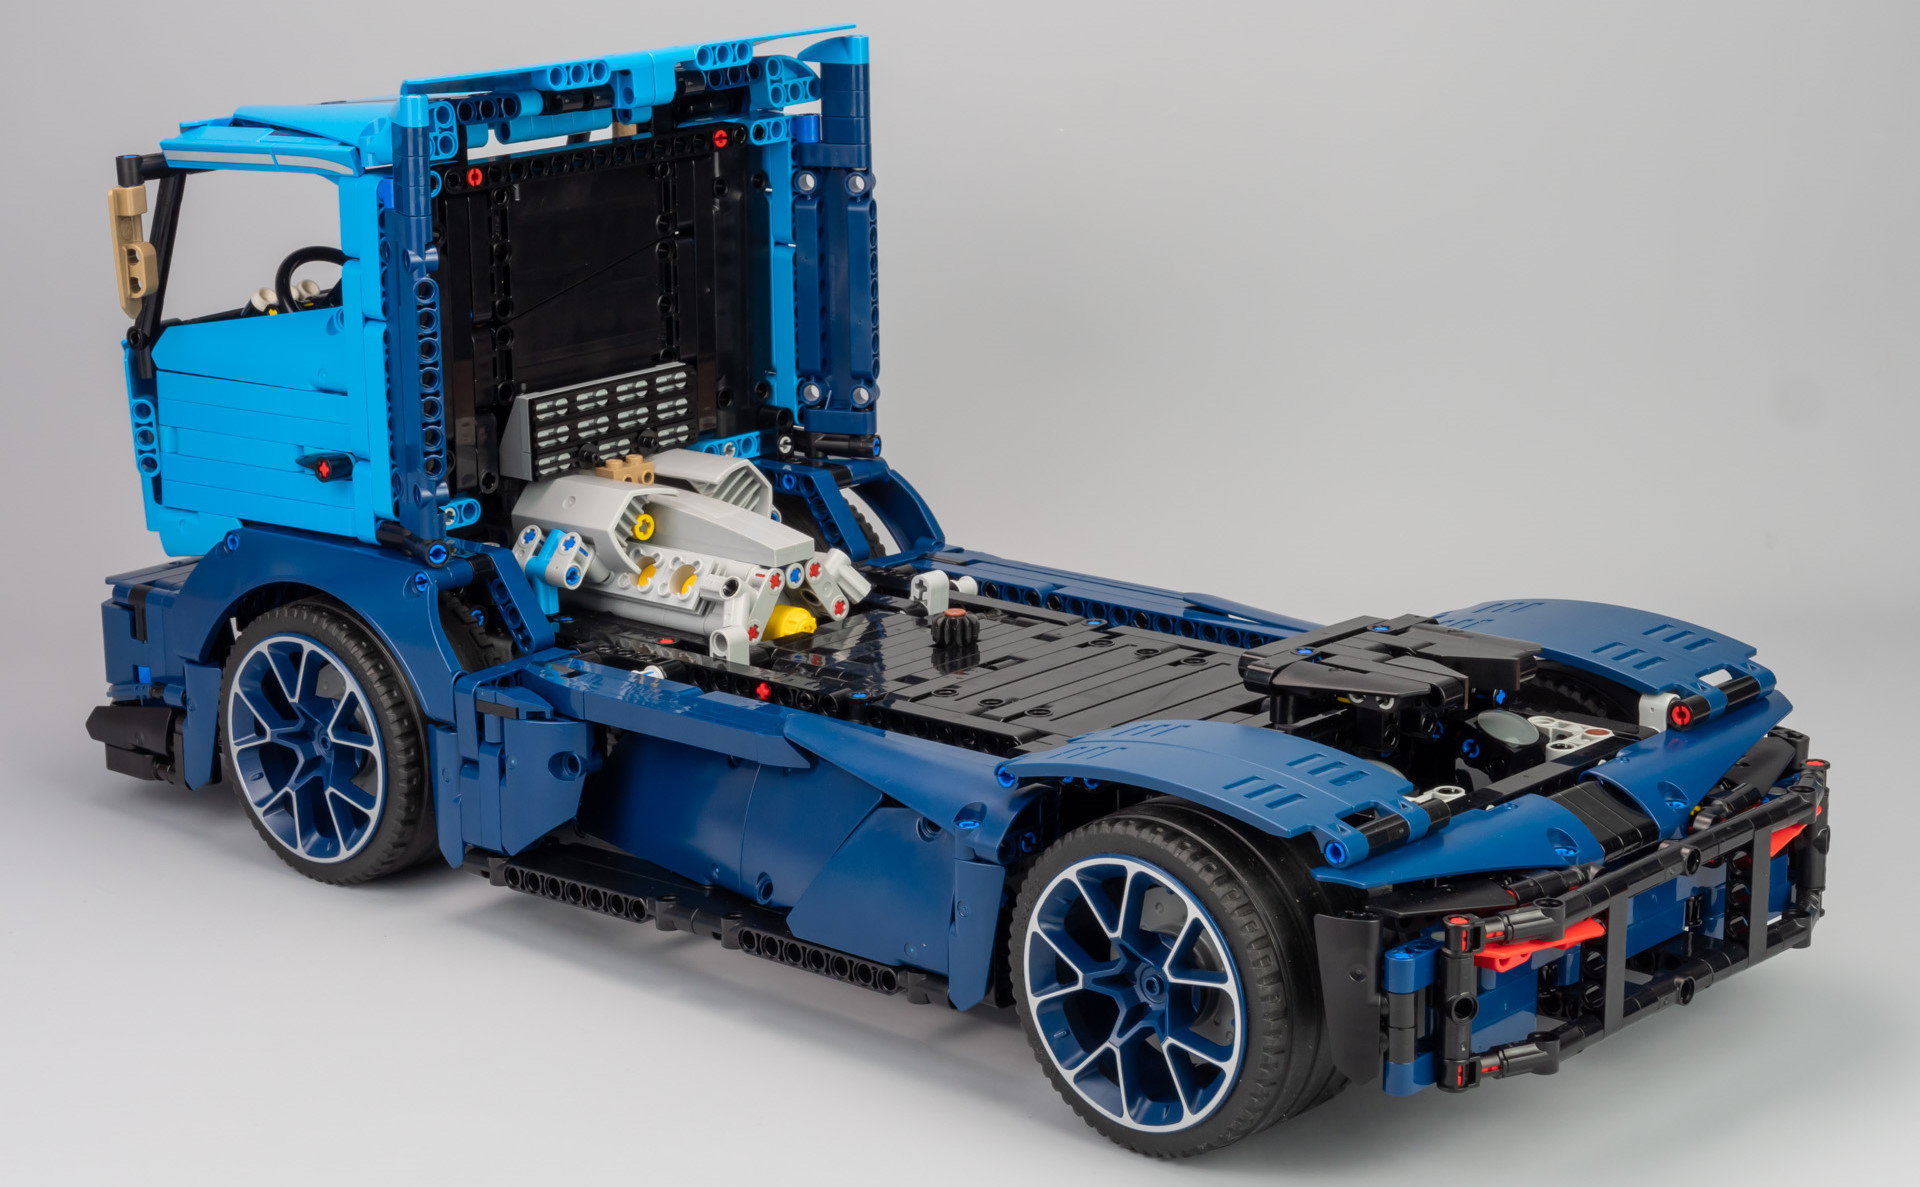
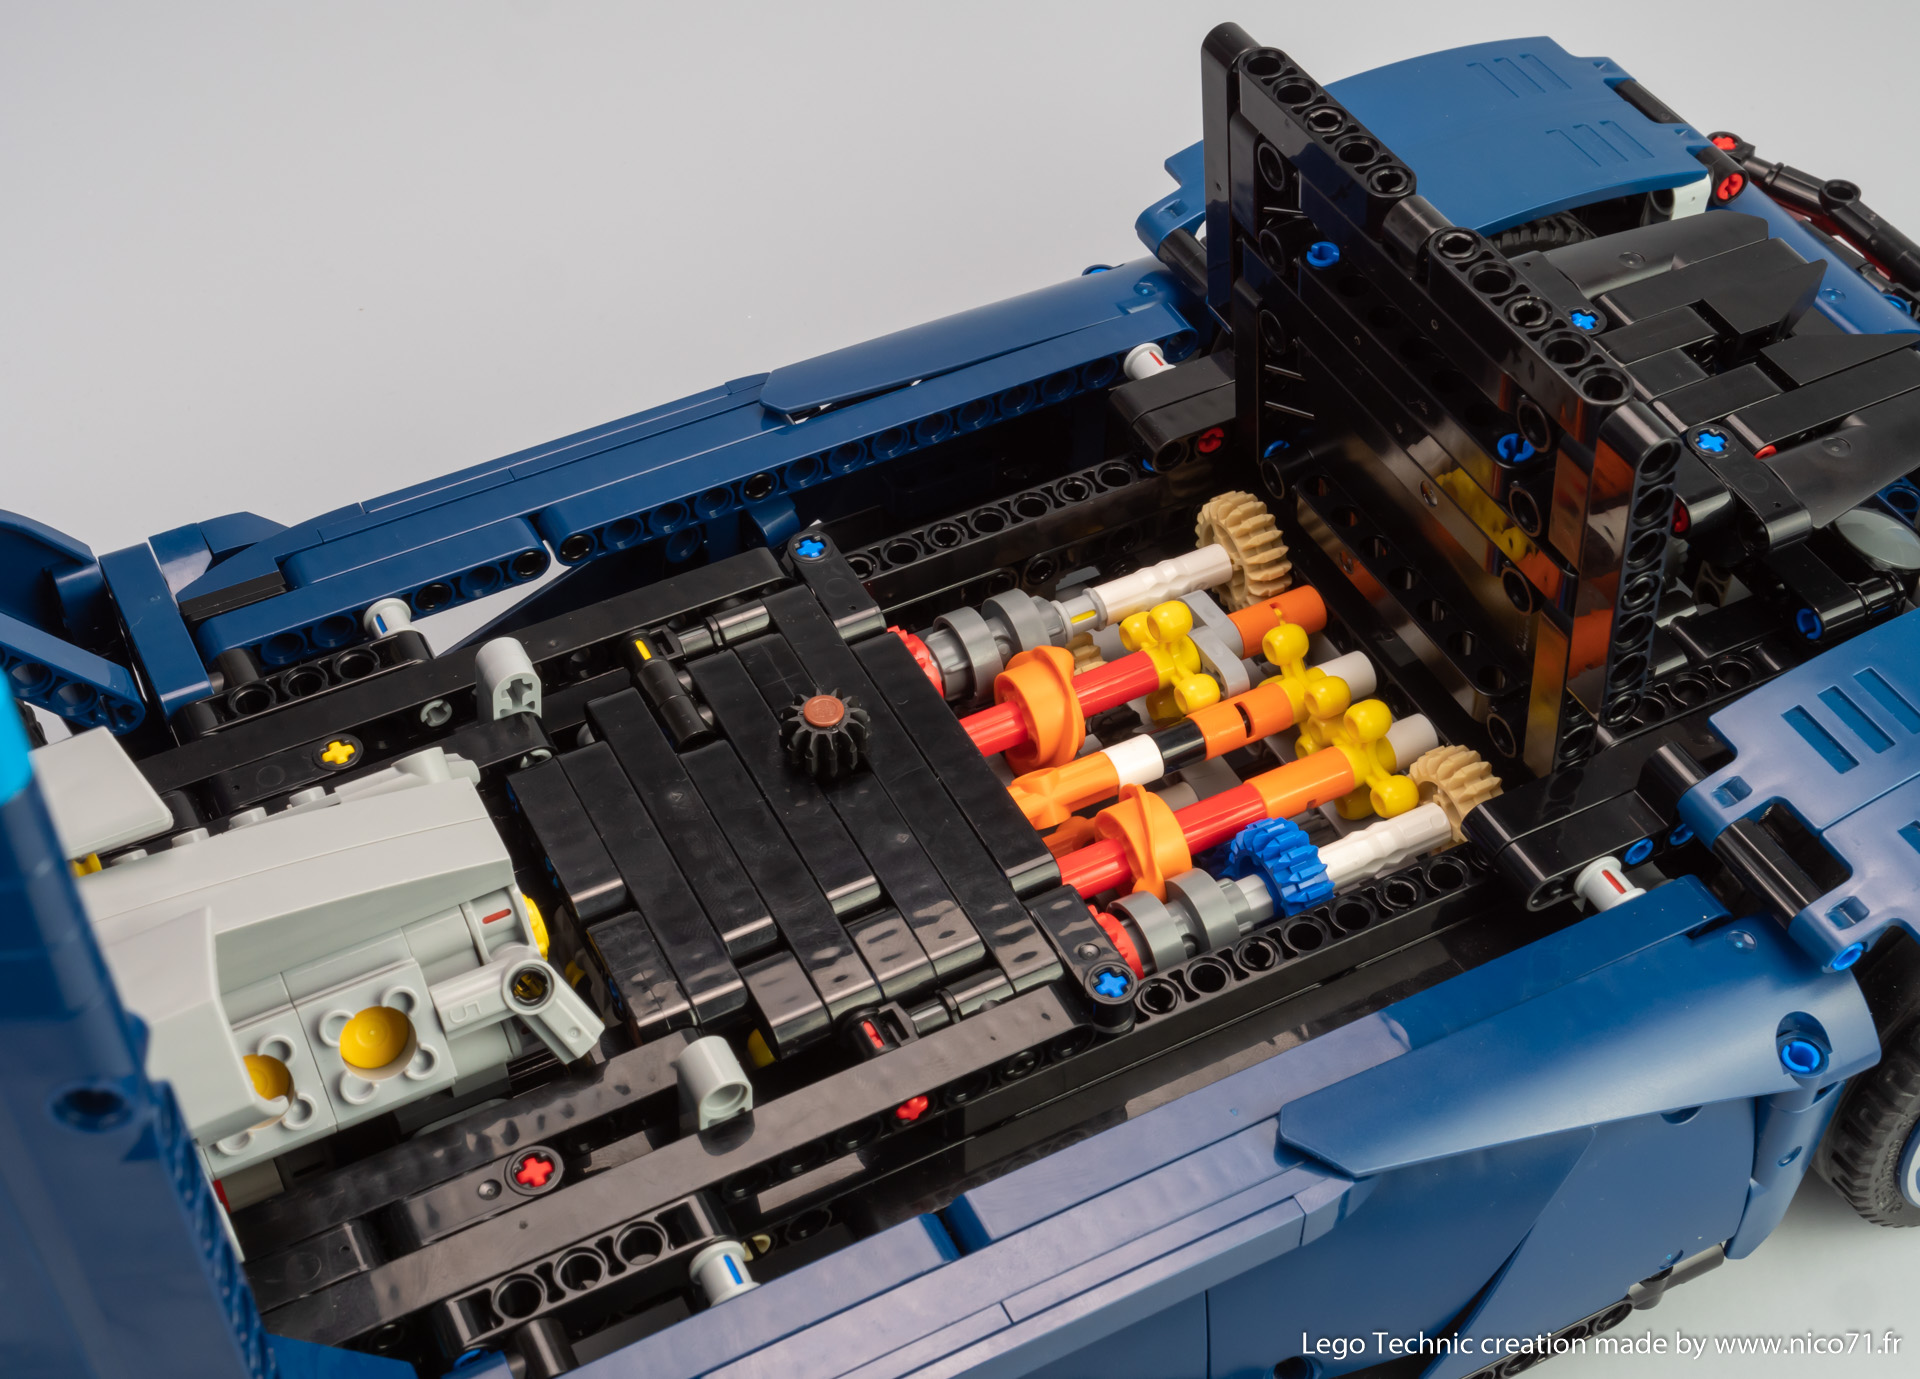
The heart of the model is the gearbox. It is composed of a DNR selector which enables to choose between : drive (wheels drive the gearbox which drives the fake V8 engine), Neutral, or Reverse (wheel drives the fake V8 engine directly counter clockwise). The gearbox is based on my previous 8 sequential gearbox from the 42115 model B – Ford F150 (which is already based on the project “pimp my sian“). I have reworked the axle I have used and how it is build to reduce the friction and enables a smoother functioning, especially on the steeper mechanism.
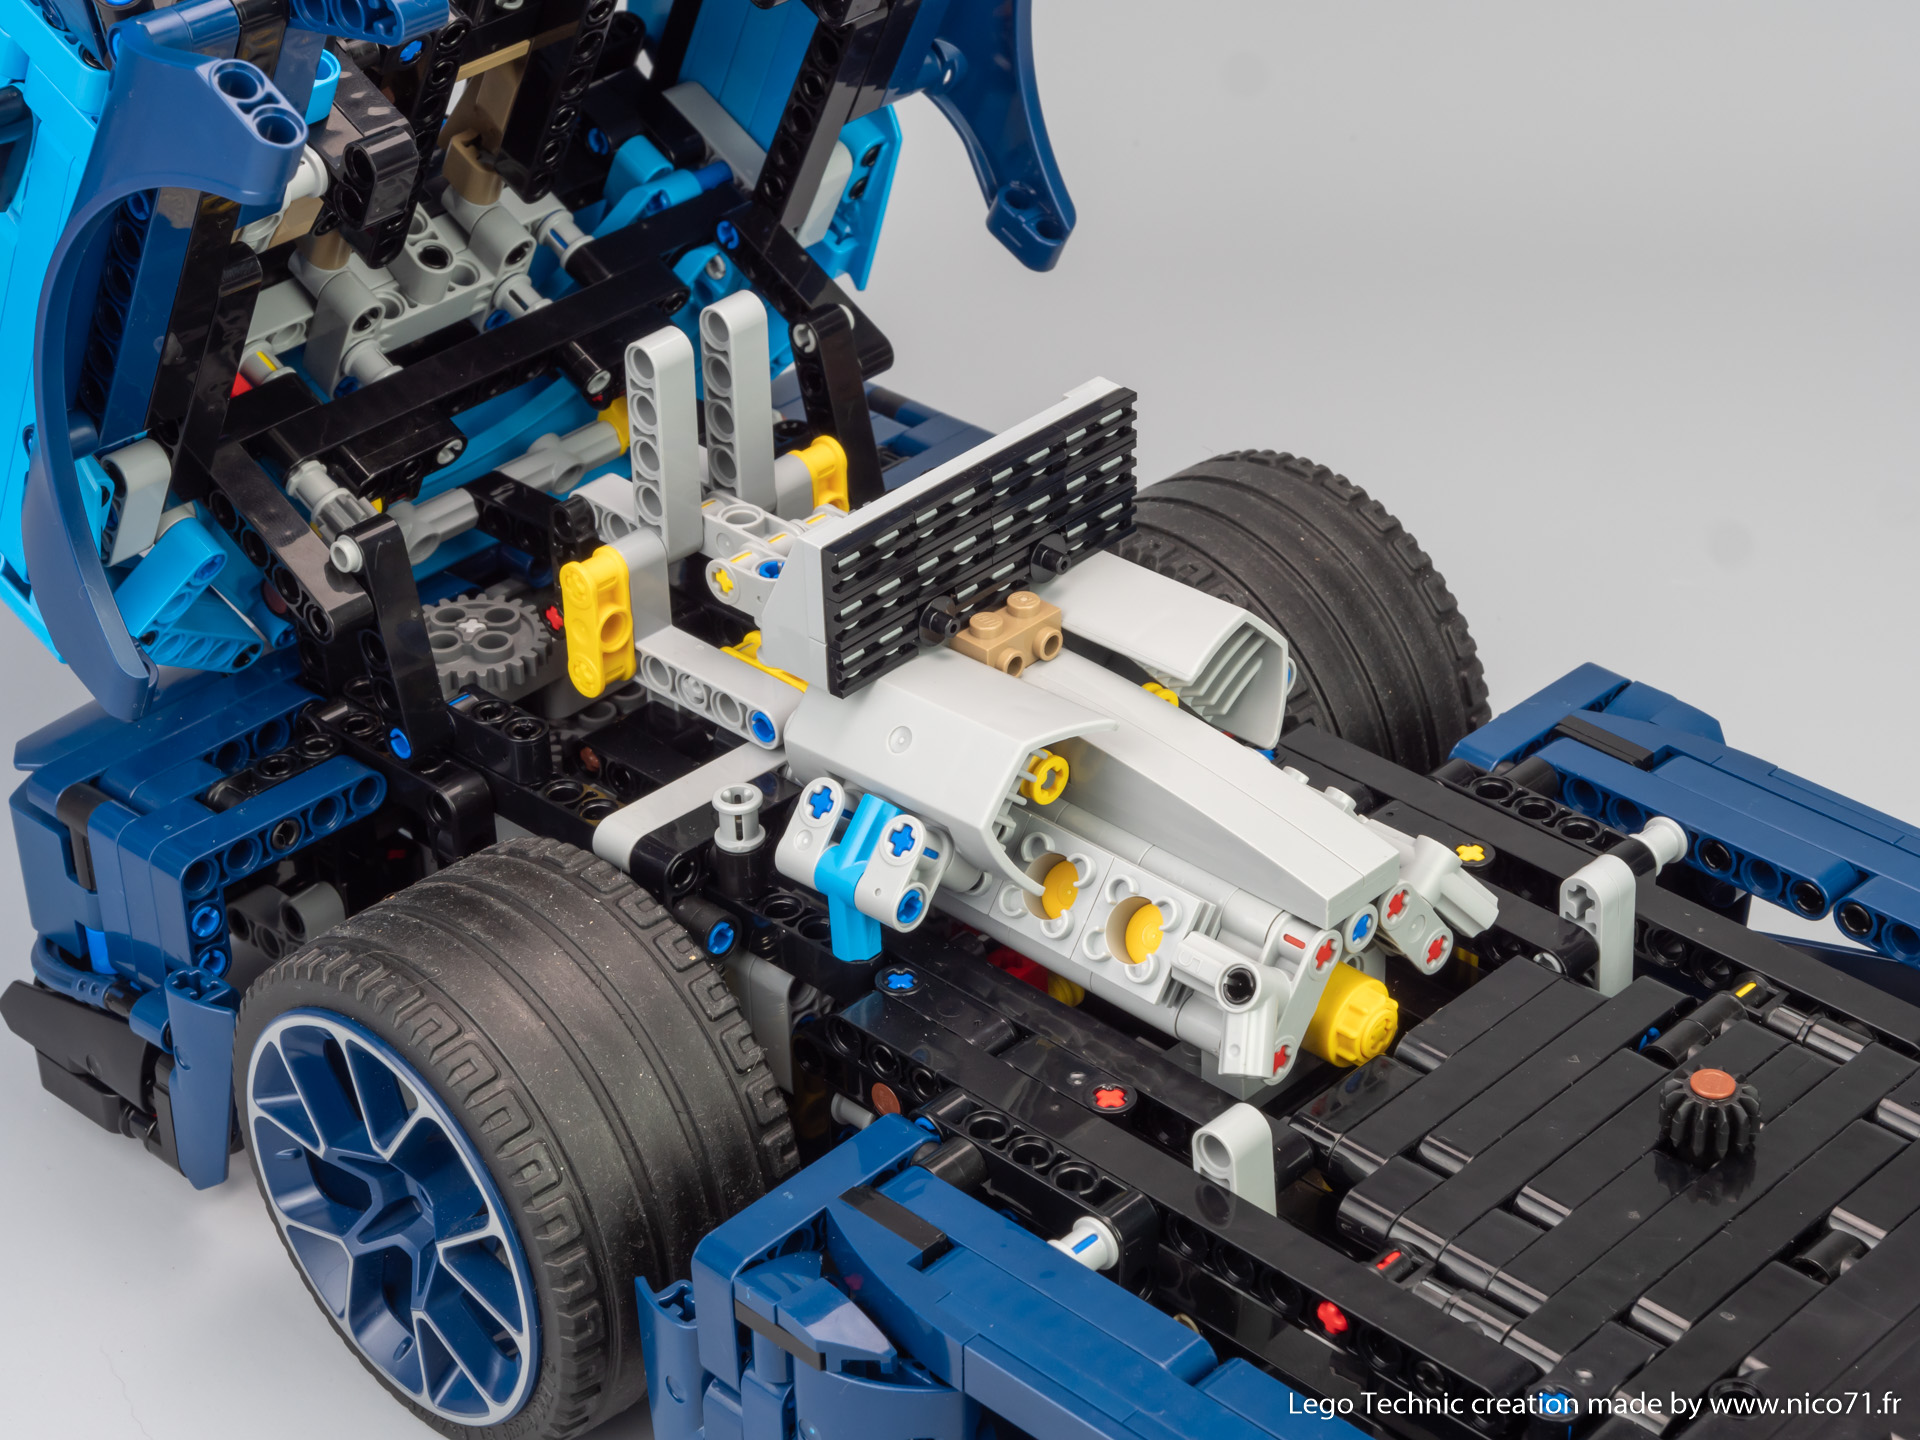
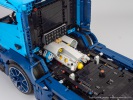
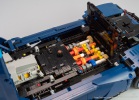
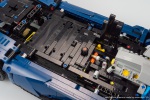
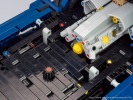
The control of the gearbox are placed on each side of the Hog on the centre of the chassis. The left selector (grey beam) is used to choose the mode (D, N, R) and the right selector is used to choose the speed. You can note that I used a small trick with connectors and coloured axle to label the way each functions works with + and – signs, and colour coded (red on left side, + is drive, – is reverse, yellow on right side,+ is upper speed, – is downer speed). I wanted to place the operating lever on the chassis for easy controlling (compare to my 42115 Ford F150) but I did not want to have a cabin empty of controls. That is why I have used a linkage mechanism to connect each selector to other control in the cabin. Like that, the two grey beams inside the cabin are also connected to the gearbox functions.
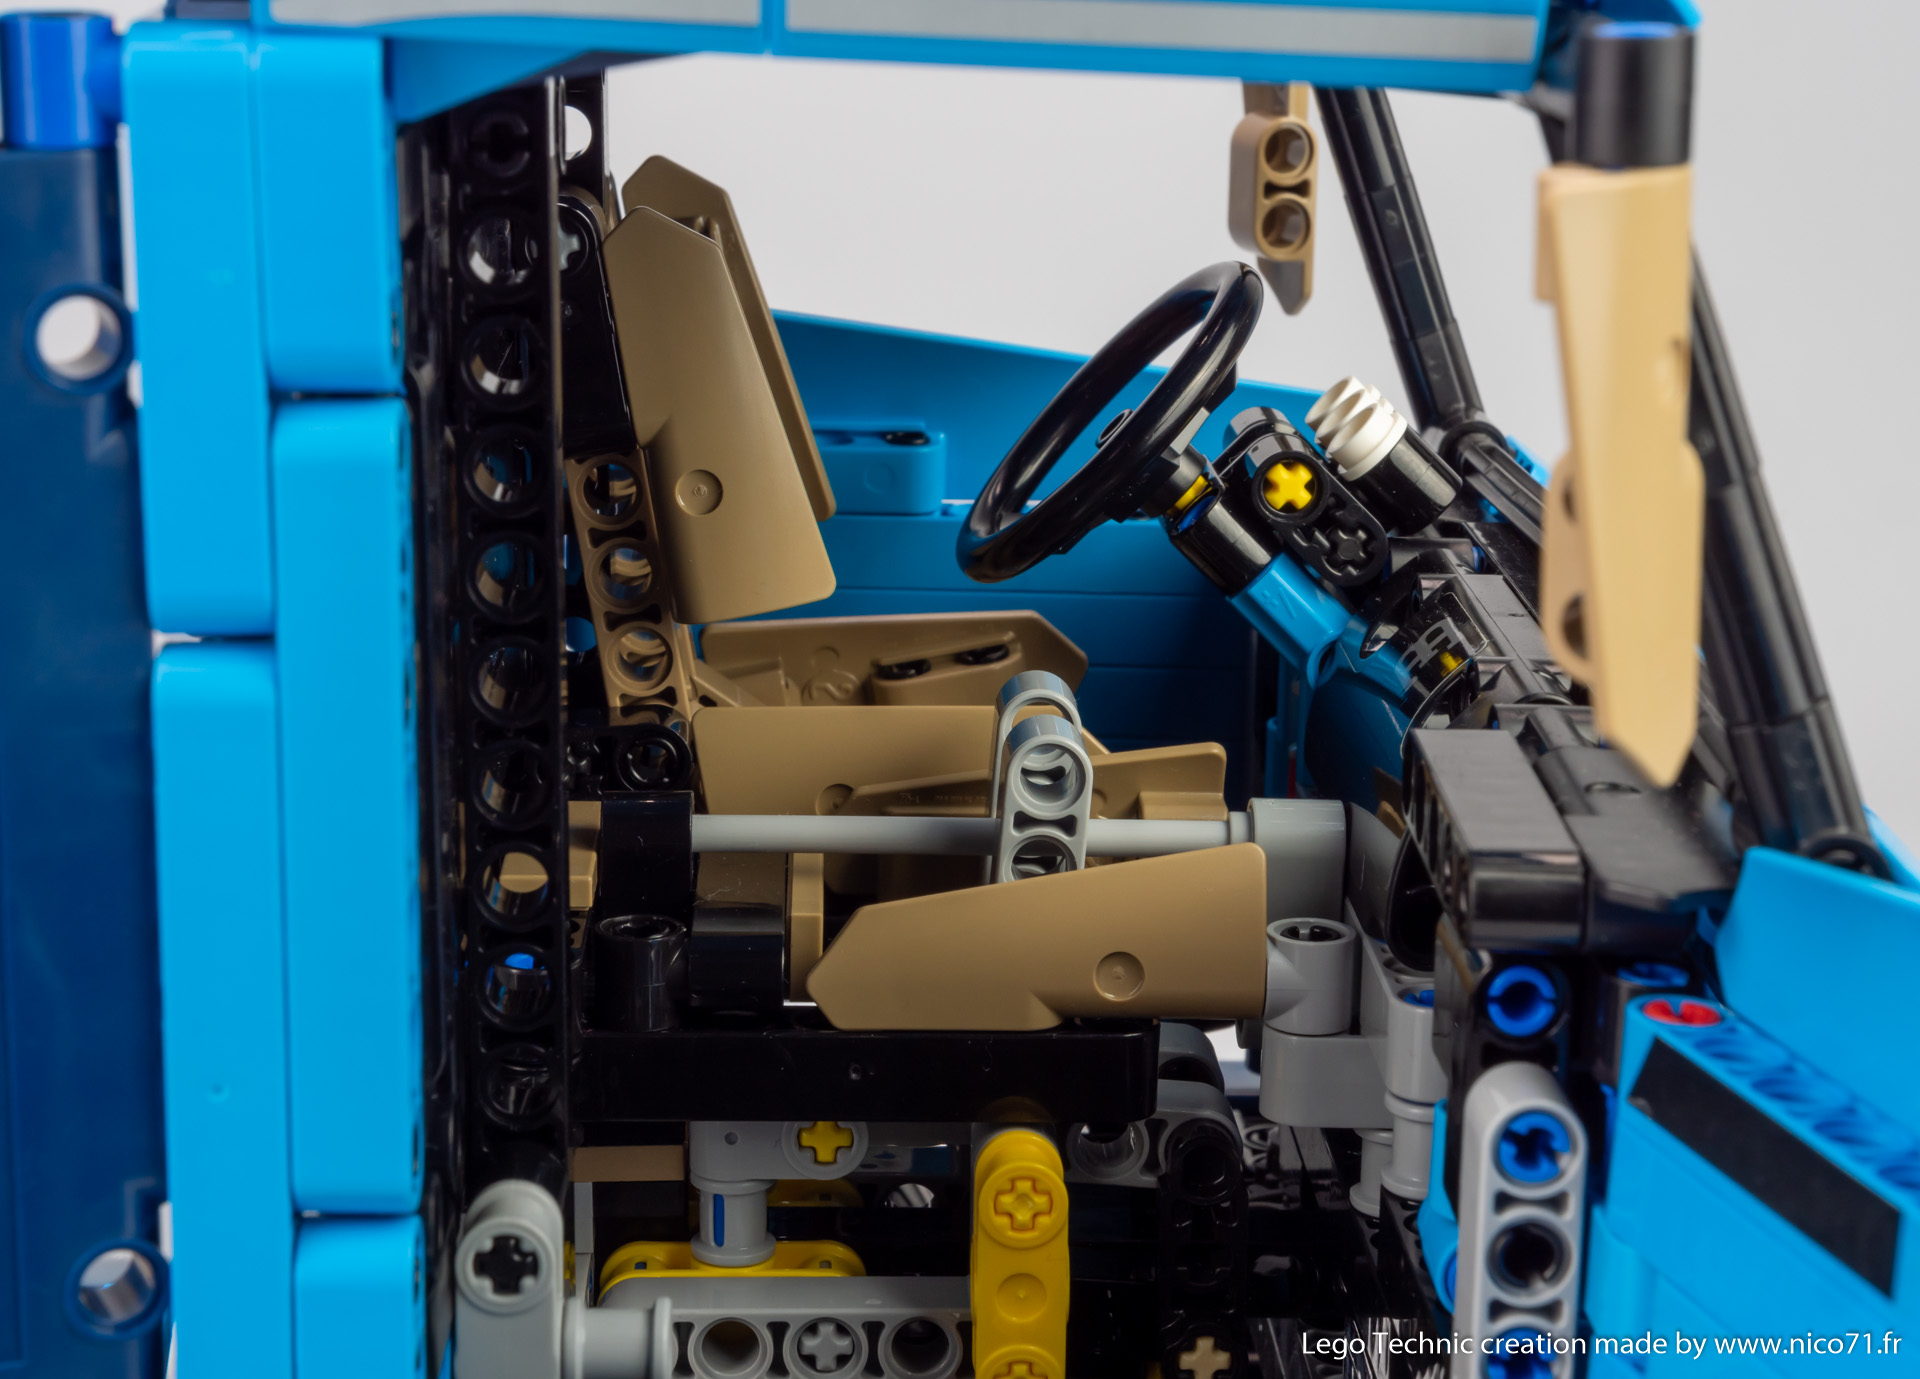
As, the cabin can be tilted to reveal the mechanism and the detailed engine, the cabin gearbox controls are fixed on the chassis to minimize the play in functioning to have a better functioning. You can note also that I have used a small bar to divide the space between the two gearbox controls inside the cabin, rather than used a beam or connector to minimize the friction. It is not perfect in terms of reliability because of the play in the linkage mechanism but add a nice design feature inside the cabin.
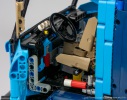
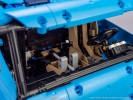
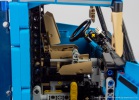
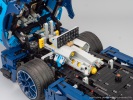
Last functions are about the openable elements. As told before, the cabin can be tilted, but also have the openable doors which reveal a detailed interior with seat, dashboard, gearbox control and fire extinguisher. The centre of the chassis has also some openable elements, to reveal the gearbox, the steeper mechanism and the gearbox lock mechanism. I find this feature very interesting to understand how the gearbox works and avoid having to return the model to look underneath.
Design Process
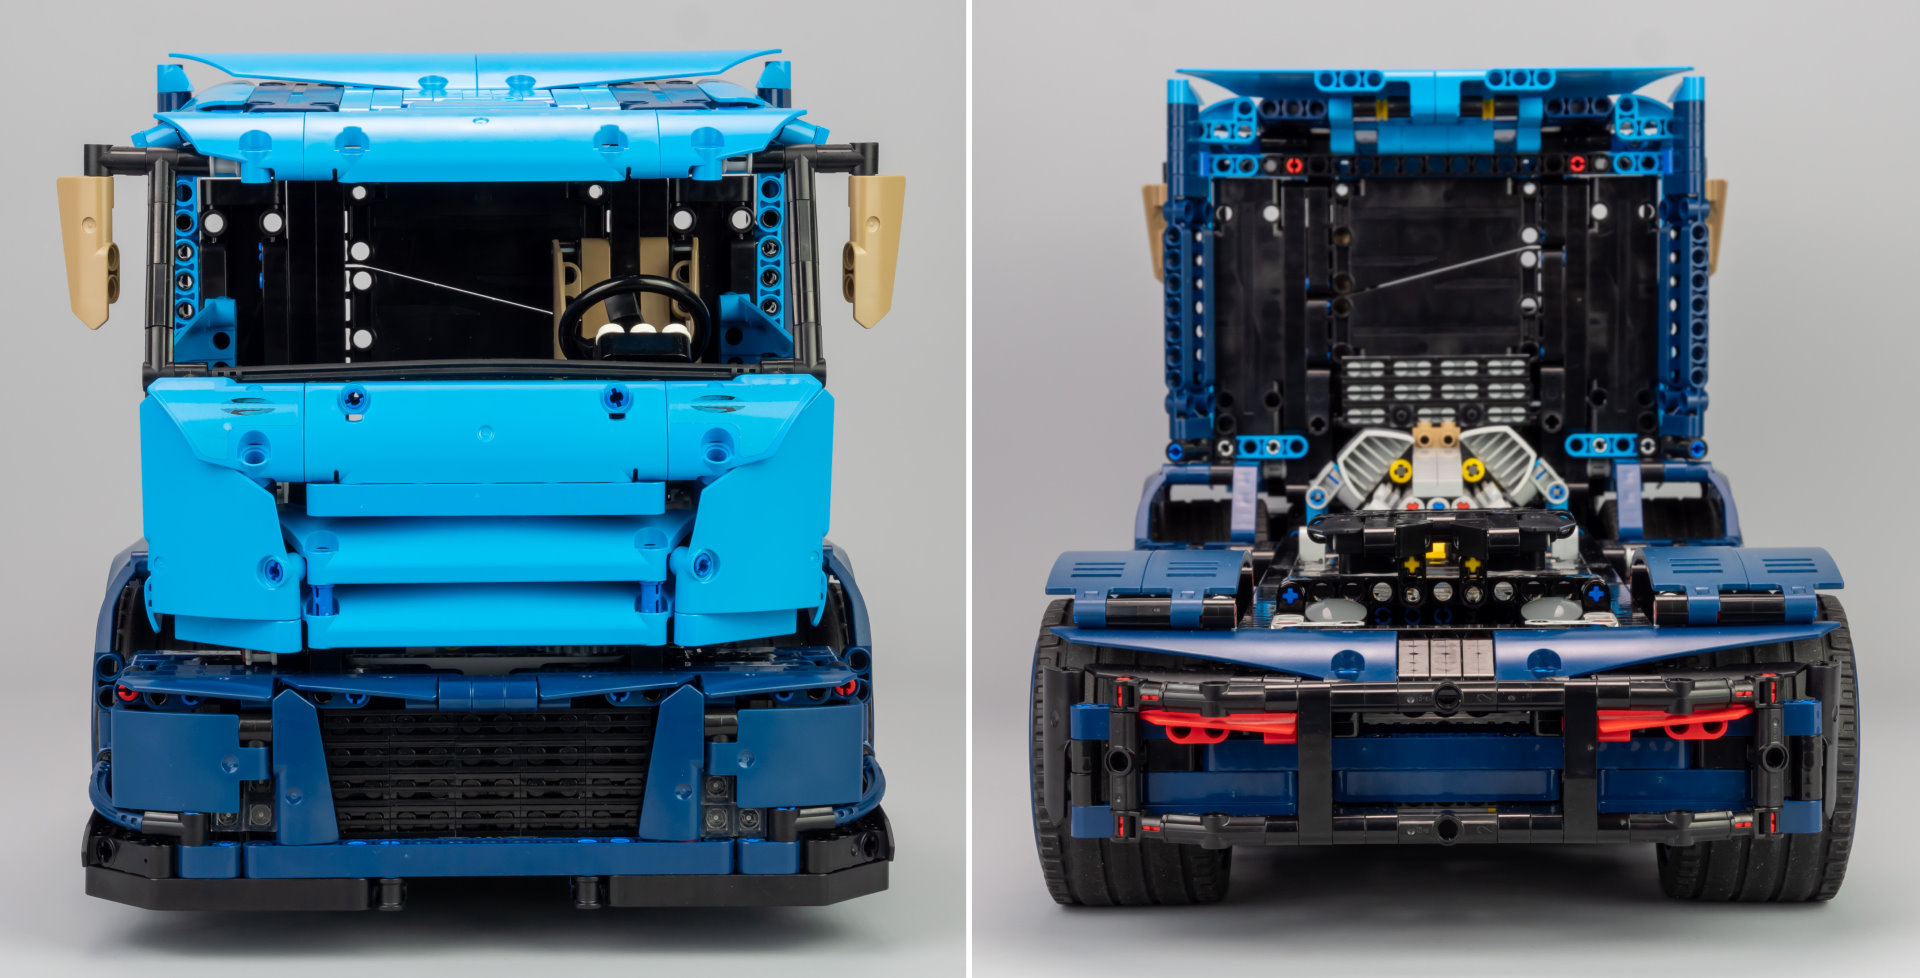
As usual, when building an alternate model with specific inventory, I have started by the bodywork, to ensure that it is possible to build something good and enough recognizable. Therefore I have started to build the front and rear bumper, then the cabin, and finish with the side. It was not easy as the amount of coloured parts is limited and that it lacks some important parts like azure or dark blue connectors. The idea was so to compensate the lack of connectors by choosing the correct orientation of the beam and the panel, and fill the hole with other parts like tile and plate but also black parts. Apart from some blue connectors which is not very pretty to see, I find the result very good, with a plain cabin without strange colour or constructions but also a plain below bodywork with bumpers and side. Even if the bottom of the cabin is dark blue instead of azure blue, it reminds the below bodywork and works fine in term of visual appearance.
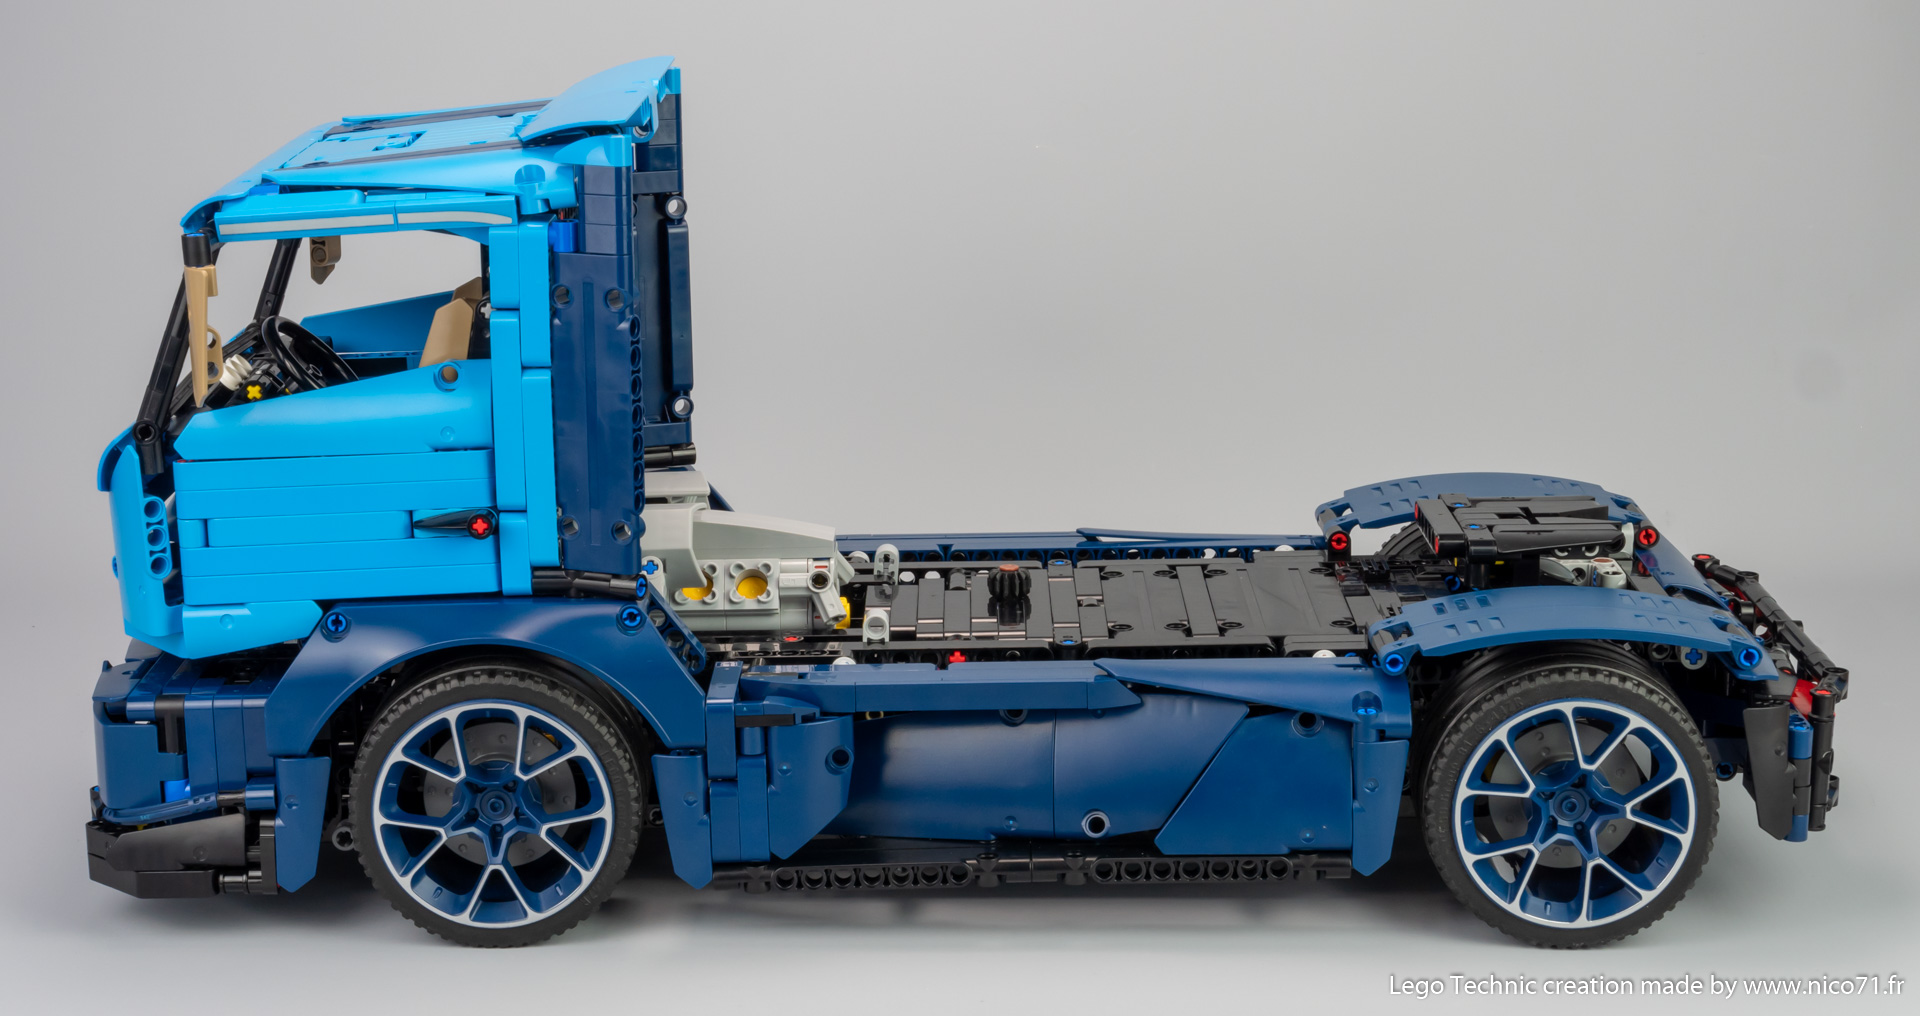
To talk about the design of this creation, I would like to introduce the “flow” or “fluidic” principle. It is a way to describe how aerodynamic a design is, by talking about how the different elements are visually connected and how they look homogeneous between them. For this model, I wanted to have a “racing” style in terms of design. That is why it has a massive bumper wider than the cabin for instance and that I choose the have the rear wheel a bit higher than the front, to make the truck plunging on the front. I have also create a sort of ascending line which goes front the front to the rear with the side panels used for the cabin, but also with a non horizontal cabin roof with rear spoiler. Last trick about the design is to keep the homogeneity in the building. In Lego, it is made by choosing the correct orientation of the beam, placement and colour of the panels and cover the hole when it is not nice to see. For instance, the bottom of the bumpers and sides is black, to enhance the perception of the other coloured parts like the side or the above part of the bumper.
But this creation has also its limitations, mainly because of the restrictions of the parts. First the model could be better in terms is styling by replacing the blue connector by azure or dark blue connectors or replace some coloured axle which is too much visible. I would appreciate to have more flexible parts like ribbed hose to create more exhaust pipe and turbo, to have a more detailed and powerful engine. Regarding the functioning, I would like to have other suspensions arms to have a different placement for the shock absorbers or put it one more on each side. Because, when the cabin is tilted, the weight compress the shock absorbers and the truck is plunging. It works fine when the cabin is in place but I would have to have more stiffness on front suspensions. More ball joint elements would have been interesting to create a proper live axle for the rear instead of a basic rigid axle.
As the HOG and gearbox controls are on the chassis, it is easy to operate it, combining with a visible mechanisms with opening elements, it gives a didactic model for understanding of the gearbox mechanism I like also the fact this alternate model is simply not a 1/8 supercar as everyone can expect. This is something unexpected from a original set like that and at the final, the parts restrictions fits well this truck.
Pictures and Video
English spoken video version of this article (Design Secret : Race Truck on YouTube)
Specs : Scale 1/12, 50cm (L) x 21cm (W) x 23cm (H) 1.9 kg
Building Instructions
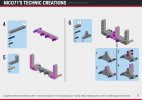
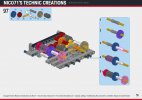
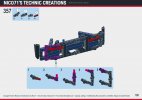
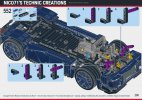
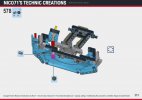
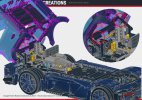
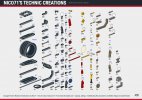
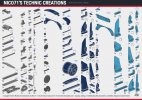
As a B model, I have of course created the instructions, which are step by step high resolution computer generated instructions with partlist, flexible parts, white edge on dark parts, highlighted parts for each step (you can see preview in the galley below). Regarding the bill of material, as an alternate model, if you own the #42083 Lego set, you have all the needed parts. But you can checked the exact bill of material on Rebrickable and export in whatever format you want. The picturing bill of material are also visible in the instruction previews and includes in the instructions.
You can buy the instructions with the following button for 18€ (including 20% VAT). You can also buy other building instructions and get an automated discount, 15% off for 2 PDF, and 20% off for 3 PDF on the total). The automated discount is available for all the instructions for sale on nico71.fr.
42083 Model B – Race Truck
42083 Model B – Race Truck
After your payment, you will be redirected to a page for downloading your instructions, and will receive also the link to download by email. Please check the spam box and be patient to receive it. If you have trouble to download your copy of the PDF after payment or open the document, do not make a paypal dispute, please check your purchase history or contact me using the contact form. The link to download the instructions expires within 24h. Contact me if you have lost your instructions. Note that you can print it, but not copy or distribute. Thank you for supporting my work 🙂
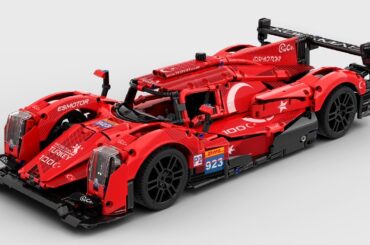
Here is some preview of the building instructions :









(8) Comments
Super la construction ! Une remorque avec et nickel ! Me reste à refaire la bugatti ^^
Thanks !
Ravi qu’il vous plaise !
Thanks for your comment 🙂
Nice and clear instructions. More then 400 pages, thanks for the good work
Félicitations pour cette création originale +++
Du coup j’ai acheté les instructions
Merci
David
Merci Roland !
+ it is fucking beautiful!
Bravo Nico pour cette magnifique creation.
Roland
Comments are closed.