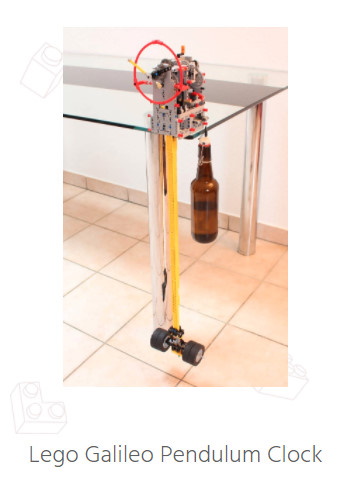
After month of work, here is my galileo clock, with instructions and set up video !
Direct purchase of the instructions
Galileo Clock
Preview of the instructions at the end of the article.
Context
Building clock is one of my favorite field in lego technic, it provides many satisfaction when the clock is running smoothly for a while. That is why I have planned many year ago to build a accurate and reliable clock. after mont of work, I manage to did it and I present you today my galileo clock.
Building
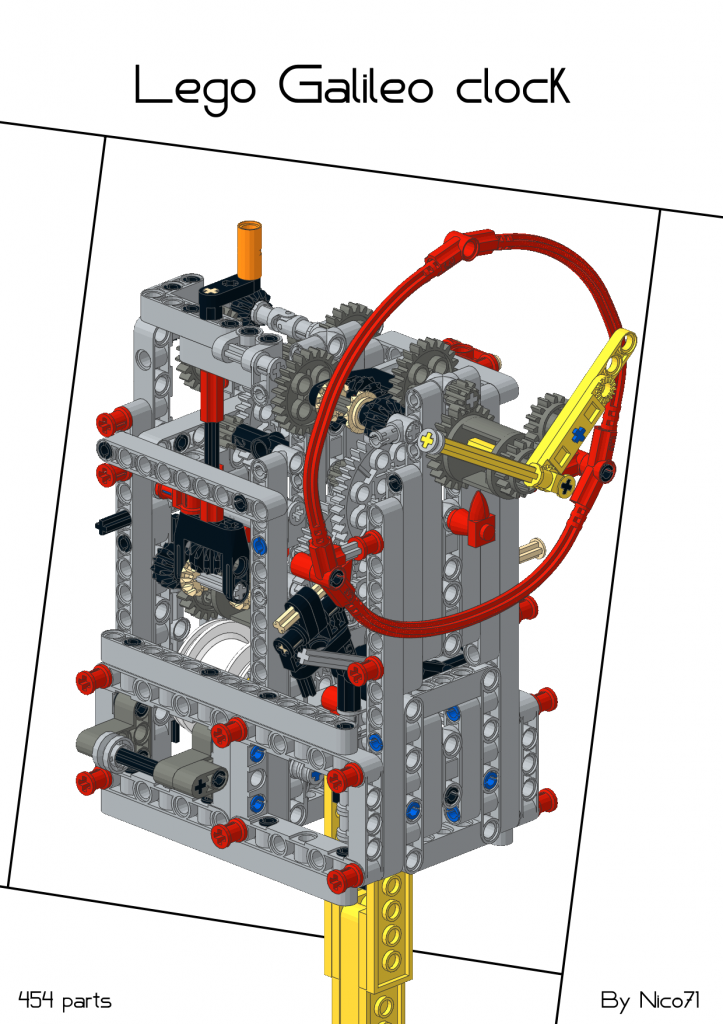
This clock is a two concentrically hands clock, with a galileo escapement, a remontoir and a skeleton design. The aim was to build a accurate and efficient clock, that is why I have chosen galileo escapement. The heart of this clock is of course the gearing and the escapement. The galileo clock is composed of a pendulum with a pallet attached to it, which meet the escapement wheel. A released pawl is used to obtain the rhythm of the tic tac. This escapement system is also equipped with a knife edge suspension which enhances extremely the performance of the pendulum and consequently the clock.
The escapement is build in order to have simple set up. No need to set up the orientation of the pallet or the pawl, only the position. Therefore, there are only 4 setting : the position of the pallet, the pawl, and sliding pawl releaser, and the position of the bob to get the correct period. Note that as I use a 40-tooth gear as the escapement wheel, the period of the pendulum is consequently 1.5sec in order to have 60sec of complete rotation of the wheel. Regarding the displayed time, I used only two hands (minute and hours) concentrically because as the second hand move faster than other, it affect a lot the running a clock with a big heay hand. that is why the second hand is moved down and is smaller in order to not affect the running of the clock or the period of the pendulum. The gearing on the hands is also equipped with friction linear clutch in order to set the time easily as shown on the video.
The clock is equipped with a manual remontoir which drives a differential connected to the drum and the clock. A ratchet blocks the differential when the clock is running, and when the remontoir is activate, it enable the drum to enroll the string without stopping the clock. This is a basic solution from other clock. Note also that on the gearing, I use some u-join to avoid the problem of friction between bracing on the axle. I have also used many new part on the gearing, axle and bracing. This is the only way to have a efficient and reliable clock. Regarding the construction, I have chosen the studless building which is not also strong than the studfull but with lot of frame the rigidity is not a problem.
Regarding the performance, there are very good. The clock is easy to set, only put in on a corner (left or right) or on a center stand, and set up by following the video below. Thanks to all efficient solution (escapement, constructions, gearing), the drop rate of this clock is 60mm/hours for 650gr of weight., that is to say with a 720mm of room (on a table or shelf) it runs for 12hours. And if you build a pulley system (like on real clock), you can have 24h of autonomy but the string attached to the clock will have to be attached to a solid structure like the table of shelf, and of course the weight of 650gr must be double, if not it will strain the structure of the clock.
Pictures and Video
See it functioning :
Purchasing the creations or the instructions
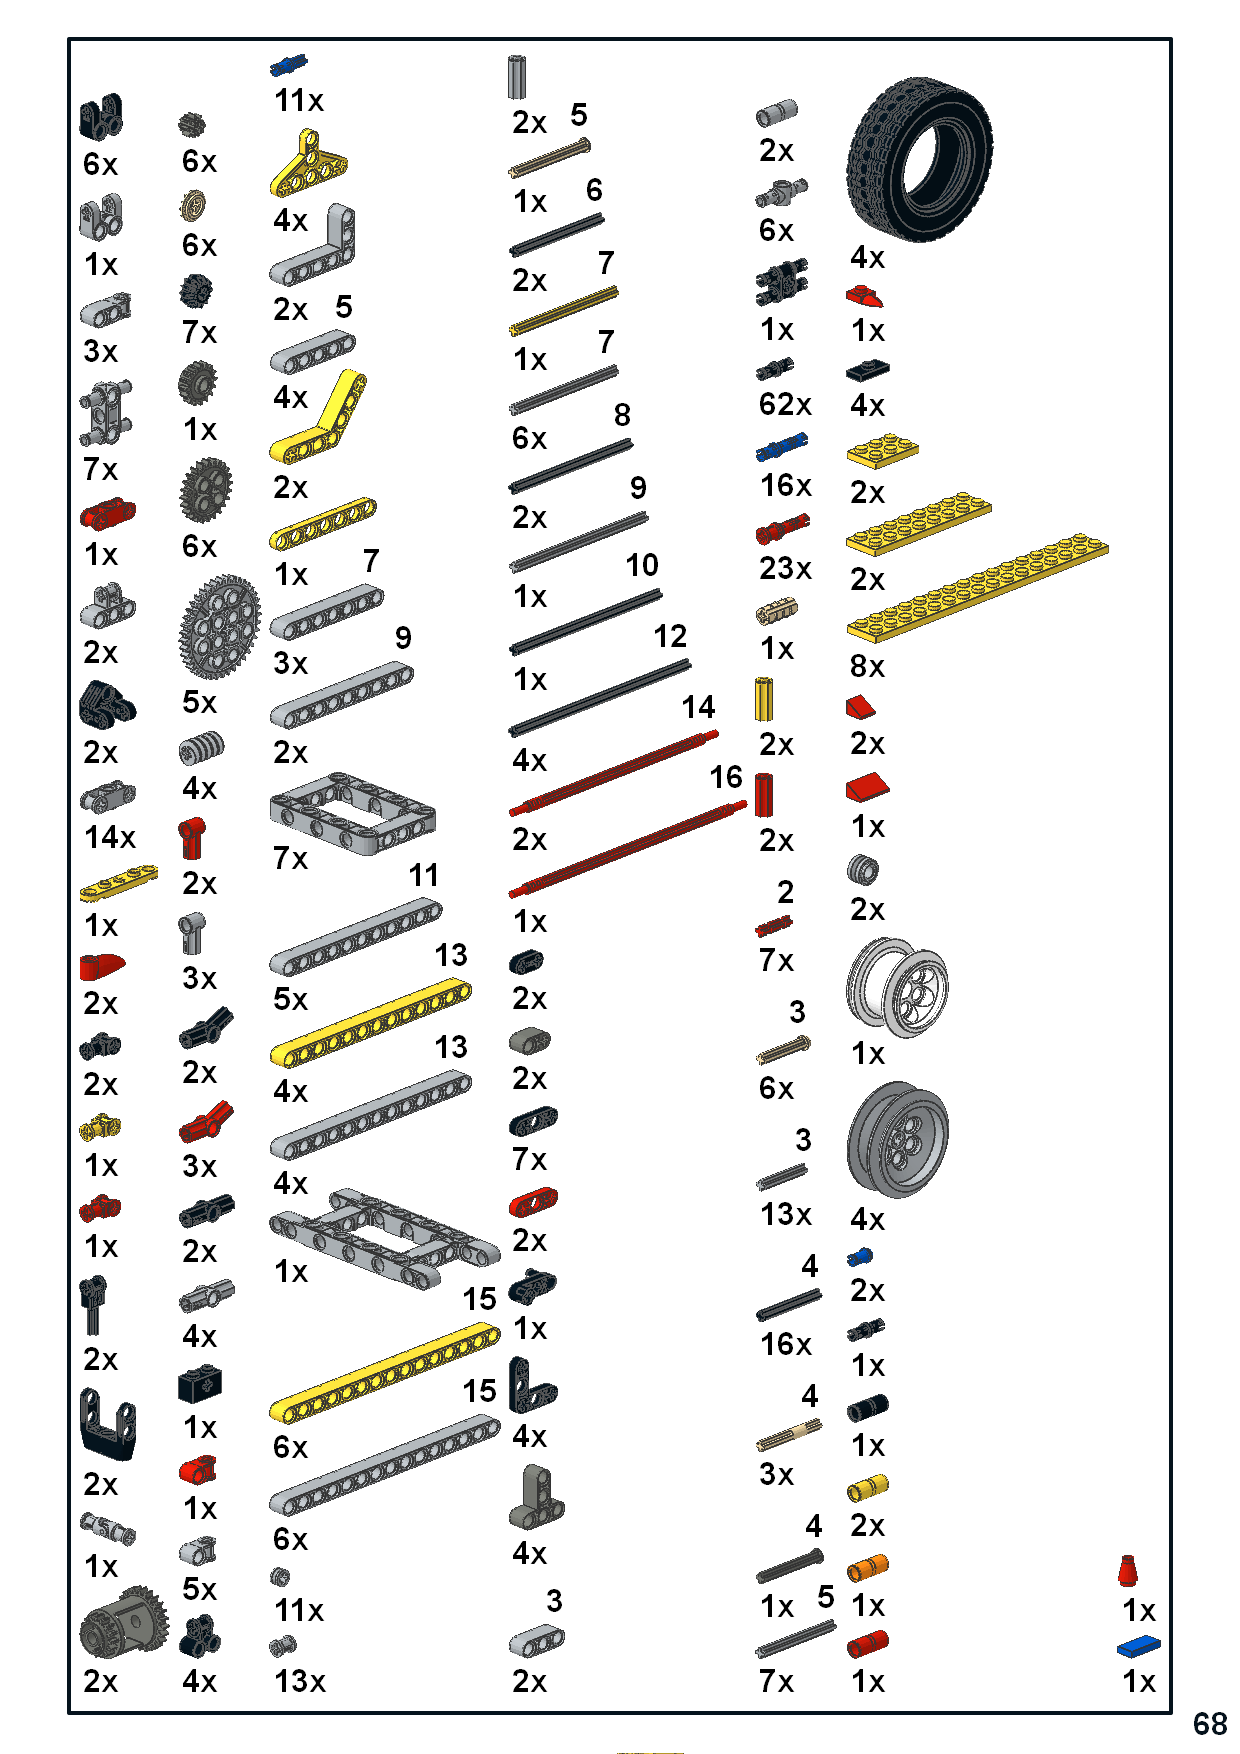
You can purchase either the whole creation on the website Buildamoc, or just the building instructions. Regarding the building instructions, you can download one version as a photo sequence for free or buying a other which looks more proffessionnal with rendering step by step instructions with bill of material at each step.
I have made two instructions as usual. A free one based on picture and a pro one, with bill of material, step by step with pro looking. Both include dimensions to set up correctly your clock. I have made also a set up video to explain how to set up he clock and make it works correctly (see below).
ATTENTION : This clock is a complicated mechanism, you have to pay attention to this tips before starting building your clock or buying the building instructions :
- it is better to have already watch a mechanical clock to understand how it works.
- it is better if you have already build other big lego model with lot of gearing (in order to set the gearing correctly, not pressing the bush or gears against the bracing and so on, like 8258 or 8043 or 8880 or 8480)
- use only new parts for the gearing, axle and bracing, used parts are not good for this type of fine mechanism
- has a tiny but heavy bottle, in order that the bottle don’t touch the pendulum when it goes down. Of course you can use metal weight. Require weight is about 650gr with 50mm of maximum diameter if you want to have more than 4-6h of autonomy
- Building and make it works is a challenge, so don’t demotivate if it doesn’t work at first, I have make a special video for set up the clock
Of course, If it doesn’t runs as you want, I will help you.
Pro-Instructions
You can buy the instructions with the following button for 10€. You can also buy other building instructions and get an automated discount. You will get 15% off for 2 PDF, and 20% off for 3 PDF on the total), available for all the instructions for sale on nico71.fr.
See it on the shop :
Galileo Clock
After your payment, you will be redirected to a page for downloading your instructions, and will receive also the link to download by email. Please check the spam box and be patient to receive it. If you have trouble to download your copy of the PDF after payment or open the document, do not make a paypal dispute, please contact me using the contact form. The link to download the instructions expires within 24h. Contact me if you have lost your instructions. Note that you can print it, but not copy or distribute. Thank you for supporting my work 🙂
Here is the video to set up correctly the clock, don’t hesitate to comment on the video or by contacting me if you have trouble to runs your clock (with a video if possible to see it in functioning) :
Photo Sequence Instructions
The photo sequence have been taken in correct order, don’t forget to check the correct positioning of the pallet and pawl. GalileoClockFreeInstructions (zip, 18mo)

