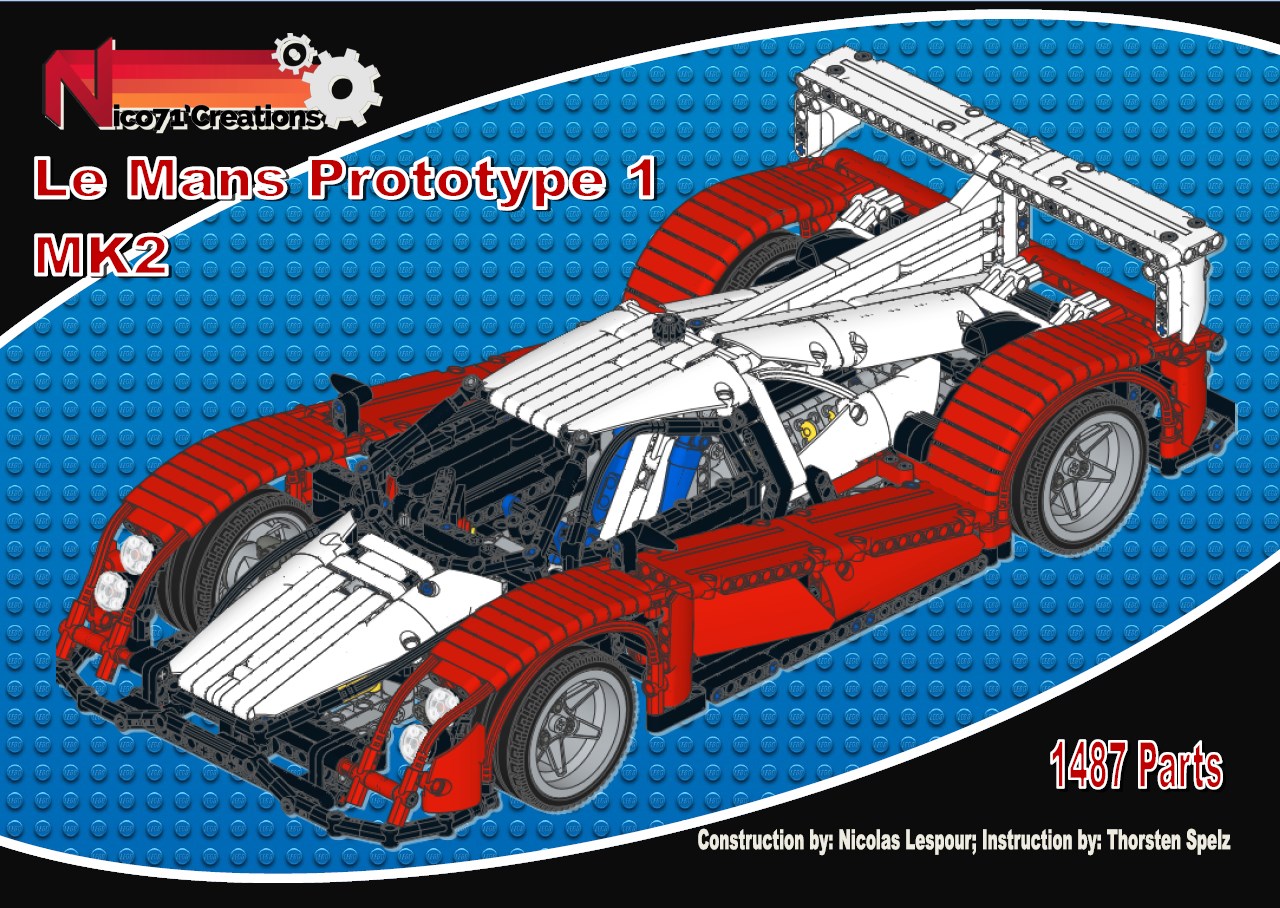
A LMP1 Race Car built for the Techlug Contest #27, featured suspensions, fake engine, steering, openable doors and rear bonnet with nice bodywork.
How to build ?
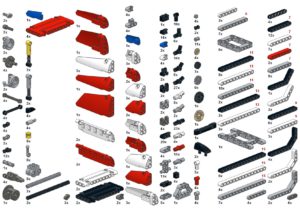
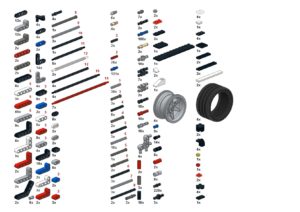
If you have already the parts : you can purchase the PDF instructions only on this page and build it with your LEGO parts. The instruction contains the partlist at the end, and you can check individually on Rebrickable, or in the instructions previews below.
If you do not have the parts, you can purchase the complete kit from two different retailers :
- Using Genuine LEGO Parts : This model is available on Buildamoc in a complete package including genuine LEGO parts plus the PDF instructions.
- Using non-Genuine LEGO Parts : This model is available on LesDiy Store in a complete package, including the parts (alternative bricks from China) and the PDF Instructions.
Direct purchase of the instructions
LMP1 Racecar
Context
The Contest of Techlug #27 was opened on the 1th February 2015. I hesitated for a long time to participate because I was a kind of bored by car and it was not my favorite subject so far. But after watching some pictures about prototype on LMP1 Race Car, slowly I decided to participate to see what I can make and what I can propose. Here are the basic expectation and rules for the contest :
- Reproduce a LMP1 Race Car, no opened car
- Maximum of 1500 parts
- Suspensions
- Steering
- Fake Engine V8
- Independent openable doors
- Rear bonnet openable or removable
- No exotic functions
The basic idea is to make better than the #42039 Lego LMP1 regarding the bodywork and design. Then I have started to build the chassis using special suspensions as real LMP1 Car, and next make the bodywork, with plenty of work on it, I manage to make something nice and homogeneous I think.
Functions
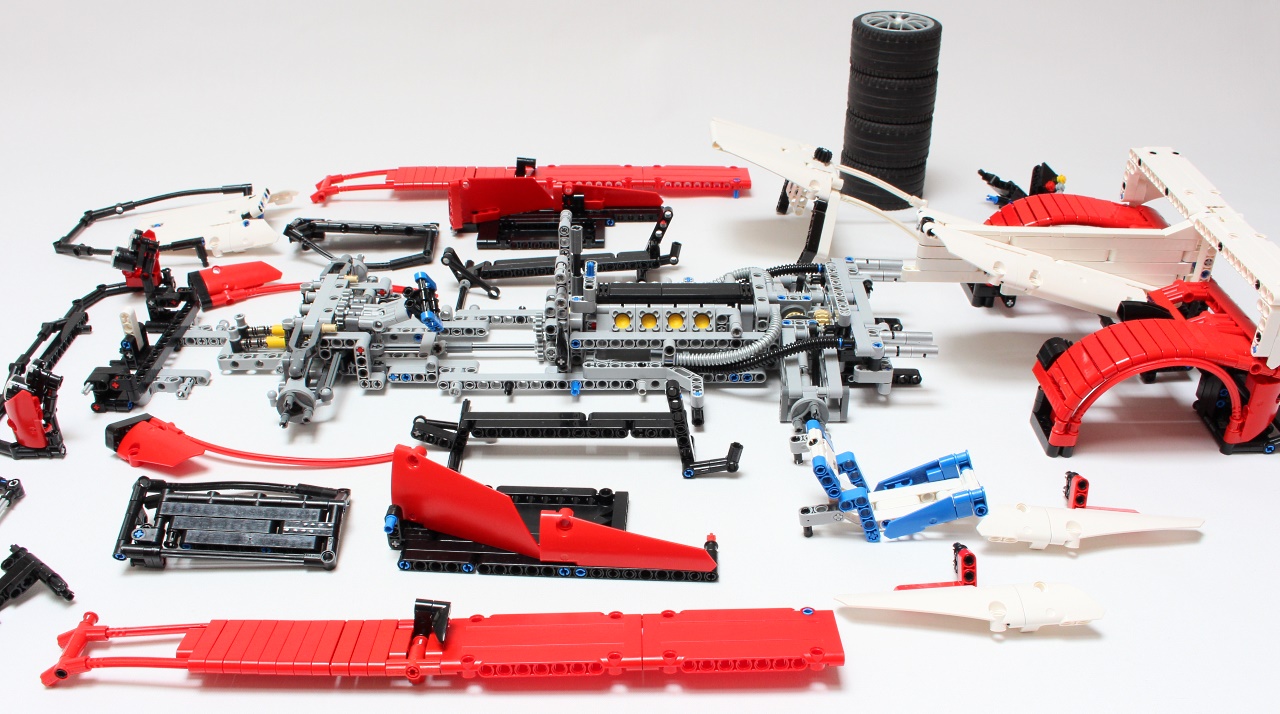
The contest focused on the design, I have implemented the minimum for the functions : Engine, suspensions, steering and openable parts. The front axle is equipped with double wishbones with suspensions inside the frame and connecting rod. When the suspension is compressed, the connecting rod makes rotate a lever which pushes the shock absorbers. This system is the same as real LMP1 Car and is nicer than the shock absorbers directly connected to the wishbone. It enables me also to have a very thin suspension and makes a lower design at the front, contributing the sportsmanship design.
Next the rear suspensions are based on the same principle. A connecting rod is connected to the lower wishbone, which makes rotate a lever connected to the shock absorbers. The difference is as I have not enough place to place the spring in the same position, I have placed them perpendicular to the rear.
The engine is connected to the rear axle with a differential and 20 tooth gear, then a 12th gear and two 16t/16t gears. The engine is directly connected to the rear axle.
The steering is also simple, a rack with a pinion is connected to the HOG with bevel gear. Note that there is also a return to the steering wheel with 16t spur gears and U-join. This connection has been removed for the Contest due to the amount of parts and because it has been considered as an exotic function. In any case, for the instructions, I have reestablished it.
Now we arrive to the interesting parts, the openable doors.
This openable doors look like similar to Lamborghini style. They are controlled by the rear liftarm on each side. This liftarm is connected to a long connecting rod which is connected to an other lever with a 5L ball connecting rod attached to the doors. Then the doors is attached to the chassis with a perpendicular connector which enables the doors the lift up and slightly move on the righ or left. This details about doors is very nice to see, and all connecting rod is equipped with friction pin which allows the doors to keep up.
Concerning the rear bonnet openable, it is made with one part which can rotate on the rear near the air intake. A system of liftarm with friction pins enables the rear bonnet to not fall and the rear and be set up. Note that all rear bonnet can lift up, including the wheel arch raises to.
Bodywork
The bodywork and design have been the most difficult thing to do. I have tried to have a visual identity with nice shape, and homogeneous design (shape colors choice of parts). The first has been the front face which makes the identity of the car. I have start to choose the front bumber with many connectors and middle bulge in black. Then a white hood with plunging shape and on each side the light which are surround by flex.
Consequently the front face is aggressive but with smooth and curvy design.
Then I have designed the middle side. I have tested many possibilities, but the better was this simple panels 5×11 which make a nice slowly slope which is connected to the rear wheel arch. Underneath this side, there are two panels, one for making a intake and other to surround the shape. This slow slope is one of the visual identity of this creations, and has received many congrats for people on forum and youtube.
At the rear, I have continue with ther flex arch build with flex and 5L beam which is connected to the rear panel. I have added a big air intake underneath and 4 exhaust pipe. The global design is surrounded with a line of connector in black which break the empty place. Two small red ligh is placed under the big 3×11 curved panels and a big wing with central pole in white. These shapes and part give a nice design to the rear face despite the relative simplicity. Note that the exhaust pipe remain stable when the rear bonnet is opened.
The rear bonnet shape is connected to the cockpit with a curved slope with white panel. Concerning the empty space between the shark wing and cockpit, I didn’t succeed to find something nice and homogeneous to fill this empty place so I have chosen to make this empty space useful to see the engine running. That is why I have added a white flex, in order to suggest a glass wall.
The cockpit is quite standard, it is made with curvy white panel and is connected to the windscreen and then attached to the front white panel on the hood. I have chosen to make the windscreen with connectors, in order to have maximum rigidity to have a real survival cell. I have also chosen to have a windscreen and global design regarding the shape and smooth (not sharp line, big appendix and so on) because my inspiration was not the last LPM1 RaceCar but some GT car or old LPM1 like the Toyota GTone of Nissan R390. That is why I have not chosen to reproduce the cokpit and windscreen of recent LMP1 car (very thin, like a water drop) but with GT style.
Pictures and Video
Purchasing the creations or the instructions
How to build ?
If you have already the parts : you can purchase the PDF instructions only on this page and build it with your LEGO parts. The instruction contains the partlist at the end, and you can check individually on Rebrickable, or in the instructions previews below.
If you do not have the parts, you can purchase the complete kit from two different retailers :
- Using Genuine LEGO Parts : This model is available on Buildamoc in a complete package including genuine LEGO parts plus the PDF instructions.
- Using non-Genuine LEGO Parts : This model is available on LesDiy Store in a complete package, including the parts (alternative bricks from China) and the PDF Instructions.
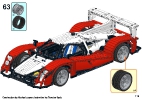
I have made the building instructions as a 119 pages PDF with photo sequence. Including Bil Of Material at the end.
Then I have contacting the excellent Thorsten Speltz who have already made some instructions for me including the Citroen 2CV or the Honda RA 300. He has made an awesome work for the building instructions ! Therefore, I can propose you two versions of the building instructions, A buying version with professional looking instructions made by Thorsten Speltz, and a free photo sequence instructions. Both will enable you to rebuild it, but buying the professional looking instructions is the best way to support my work an Thorsten Speltz to !
Bill Of Material
Here is a pnj file of the bill of material :
Or check it online with rebrickable :
Professional Looking Instructions
You can buy the instructions with the following button for 10€. You can also buy other building instructions and get an automated discount. You will get 15% off for 2 PDF, and 20% off for 3 PDF on the total), available for all the instructions for sale on nico71.fr.
See it on the shop :
LMP1 Racecar
After your payment, you will be redirected to a page for downloading your instructions, and will receive also the link to download by email. Please check the spam box and be patient to receive it. If you have trouble to download your copy of the PDF after payment or open the document, do not make a paypal dispute, please contact me using the contact form. The link to download the instructions expires within 24h. Contact me if you have lost your instructions. Note that you can print it, but not copy or distribute. Thank you for supporting my work 🙂
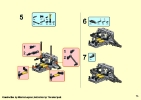
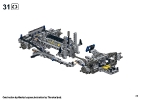
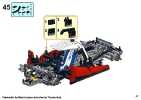
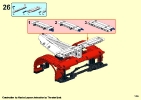
Here is some preview of the building instructions :
Photo Sequence Instructions
Please note this free photo sequence is based on an old version of the LMP1, is uses mostlty the same part but with some which is hard to get. Therefore, you can not use the rebrickable inventory to build with the free photo sequence. Please refer you to the end of the free photo sequence pdf to see the bill of material for this version.
You can download it has a high definition PDF :
Downloading the building instructions for the LMP1 RaceCar Instructions . pdf (35mo)






(7) Comments
[…] 14.LMP1 […]
Salut Nico,
encore une superbe création ! félicitations ! je me suis empressé d’acheter les instructions.
Merci d’avoir partagé ça avec nous, en particulier pour une somme aussi modique quand on sait le travail que l’ensemble représente.
Amitiés,
Neuro
Amazing… that is how Lego technic 42039 should be… I bought it and I´m a little – a lot – dissapointed… Very good work.
[…] and openable doors and rear bonnet. It got the 3rd place at the end of the contest, behind Nico71’s one and Vinz’s […]
magnifique !!! les concepteurs du 42039 devraient en prendre des leçons…
[…] is also a huge gallery of detailed photos with instructions to come. For all the details click on these blue words to visit Nico’s […]
hoi nico i am an fan off your work and cant waite too build that race car
do you now the price already for the instr
will you mail me when thy are ready
greats
marc van den akker
amsterdam
holland
Comments are closed.