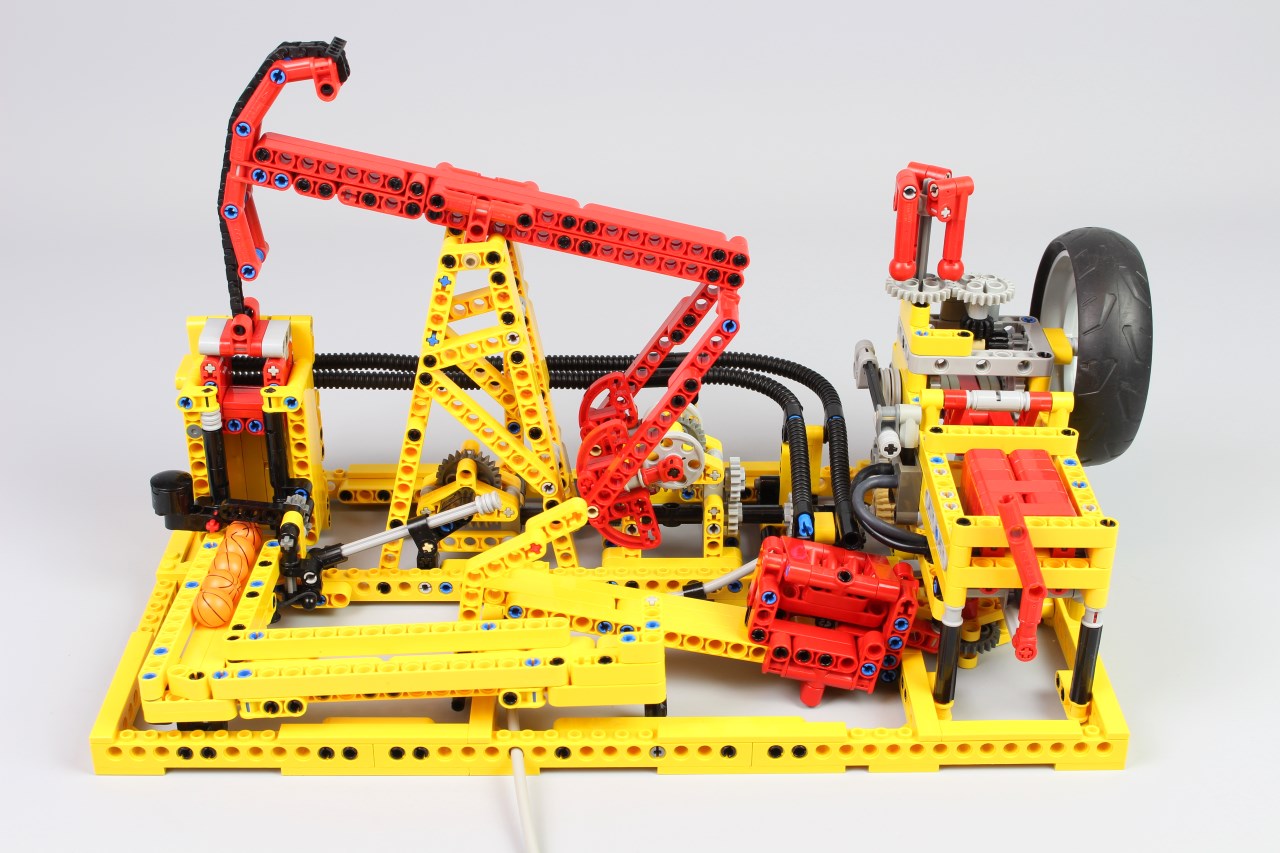
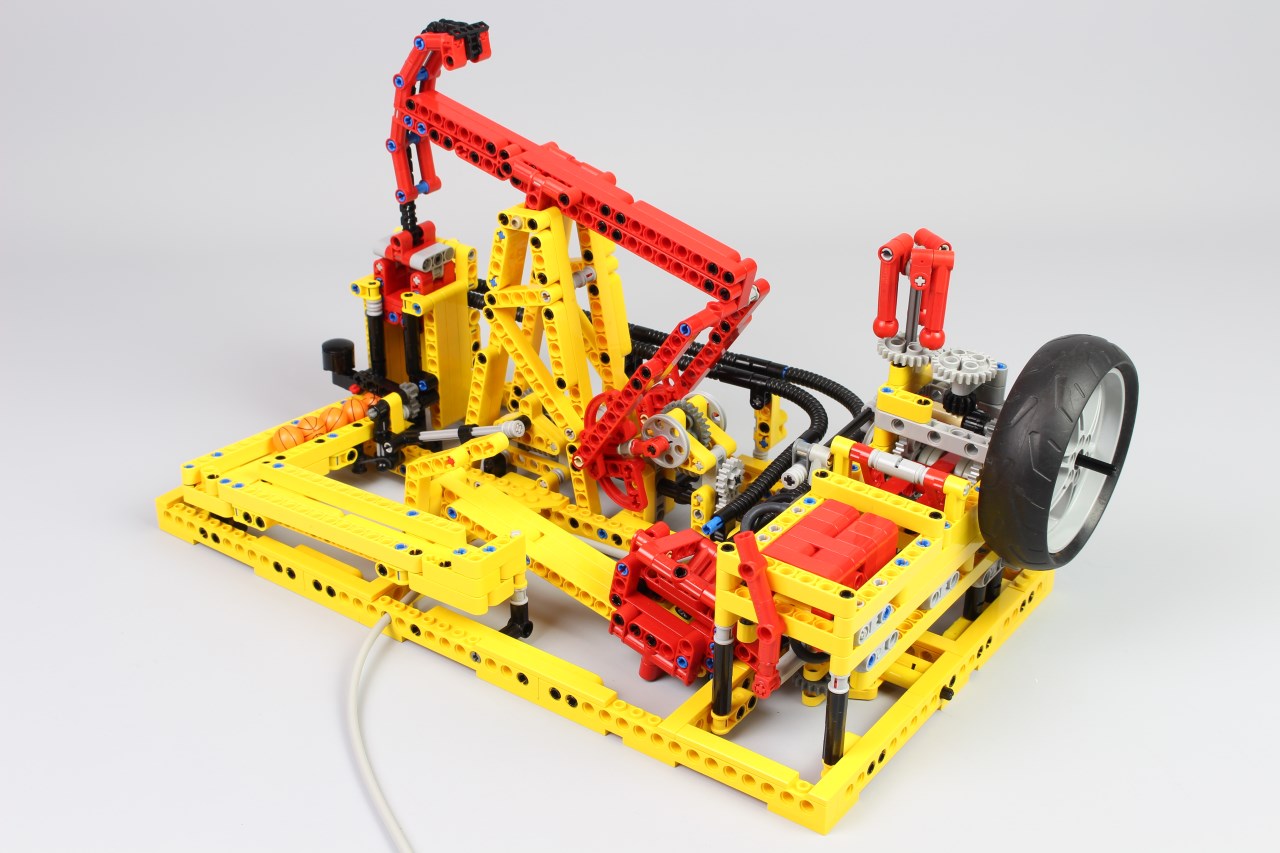
A Pneumatic mine, featured single pneumatic engine, oil pump jack and sliding trolley with ball contraption.
Direct purchase of the instructions
Pneumatic Mine Contraption
Preview of the instructions at the end of the article.
I wanted for a while to build new creation based on pneumatic and great ball contraption. At the beginning I wanted to create a vertical sculpture with powered ball clock but because of lack of parts to create the structure, I changed my plan to create a horizontal creation. The idea was found at the end to match the design with a mine with a rotating pump jack and sliding trolley, powered by a pneumatic engine.
The pneumatic engine is a single engine with a non modified switch and a inertia wheel with 1:5 ratio increasing (like my old one but better built and balanced). It enables the engine to run smoothly without stops under charge. A centrifugal governor is only for viewing convenience and has no regulator function. Note that the timing ignition is set to 30° and do not require adjustment and the engine run at 100rpm at its maximum with 5 hand pump. You pump, start the engine, and it runs. I have also made a clutch system in order to start the engine, and then power the mine using sliding gear.
The first important point is the timing door which is composed of two lever connected with gearing, and operated by a lever and connecting rod. It enables the ball to by released only one per one when the cage comes down to catch it. I have seen that for the first time on the creation of PV-Production so many thanks to him for the idea.
The second device is the pump jack mounted on the derrick oil, it is very simple with a oscillating beam which is connected to the rotating lever and the cage. In the cage there is a slope which enables to lock the ball against the wall and on the top release it on the two rails. After rolling on the rails, the ball comes in the trolley.
The trolley is powered by a lever with connecting rod, which makes move the trolley back and forth on the yellow rail. On the top on the rail, the trolley comes against a liftarm which forces it to rotate and then release the ball and the process is repeated again and again.
The hardest part of this creation was to fit all mechanical and ball passages in the frame. I did not want to have a huge creation in order to not use many parts. That is why I have started with the pump jack and timing doors, makes the two rails and the trolley system, and then plug the engine. In this case, the construction is quite compact and of course divided in sub-models, enabling to set up the timing pretty easily (which is very tolerant regarding timing between axle). At the end, the functioning is smooth, quite slow but very nice to see. Of course the pneumatic engine can be replaced by electrical motor if you have not the parts or the hand-pump and having a great ball contraption.
Building Instructions
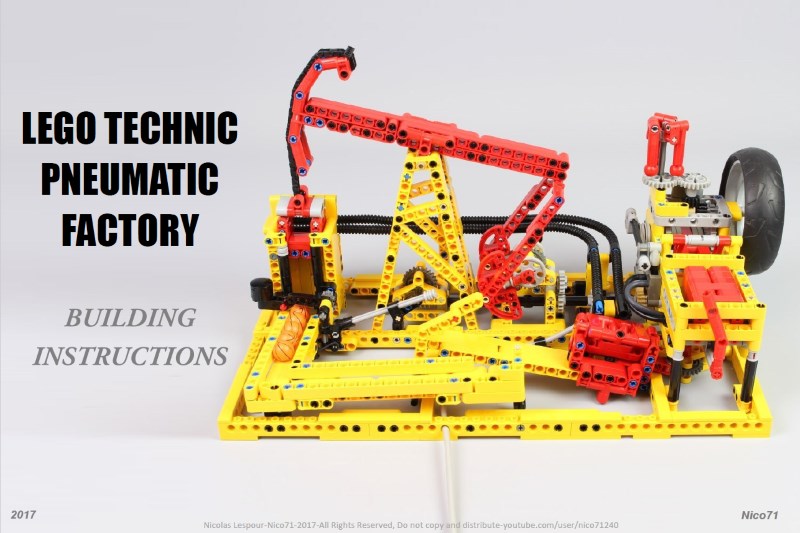
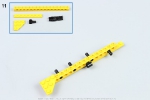
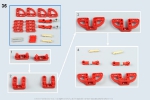
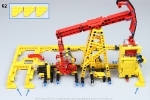
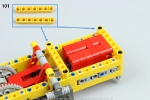
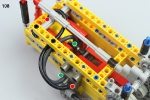
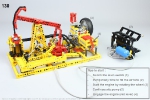
I have made instructions for this creation. This times by taking huge amount of picture and do publishing process to get a nice photo sequence instructions, with the bill of material per step. This type of instructions enable me to do what I want regarding the building process, the view and some additionnal functions (arrow, circle and so on). I hope you will like this new type. You can see sample below. The bill of material is available on rebrickable :
Please note that the 4 hand pump is a minimum with the air tank to have correct functioning. You can replace by home made compressor, bike pump or air tank bottle but in lego, you will need 4 handpump plus a air tank. Note the hose use can be replace by any lengh you want except the two on the engine which are 9cm and 13.5cm.
You can buy the instructions with the following button for 7.5€. You can also buy other building instructions and get an automated discount. You will get 15% off for 2 PDF, and 20% off for 3 PDF on the total), available for all the instructions for sale on nico71.fr.
See it on the shop :
Pneumatic Mine Contraption
After your payment, you will be redirected to a page for downloading your instructions, and will receive also the link to download by email. Please check the spam box and be patient to receive it. If you have trouble to download your copy of the PDF after payment or open the document, do not make a paypal dispute, please contact me using the contact form. The link to download the instructions expires within 24h. Contact me if you have lost your instructions. Note that you can print it, but not copy or distribute. Thank you for supporting my work 🙂
Engine Instructions
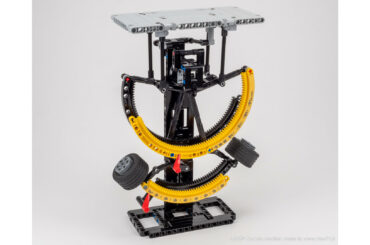
For those people who do not want to buy the instructions and are only interested by the engine, I have made some photo sequence to enable to rebuild it. This is a standard single engine, with cam crankshaft, new switch, connecting rod and lever mechanism, with 30° timing. Please not you will need 2 or 3 hand pump to get works, or compressor, and air tank or air bottle.



(5) Comments
Yes I think but I do not know if it fit without modification of the engine. You have to try !
Hi Nico! Can Imagine use they LEGO Technic 8110 wheel for inertia wheel? Thank you.
This is a great GBC module, I could make it from the picture and run it using your switchless pneumatic engine with my own coupling, works like a charm!
Thank you for sharing such wonderful creation.
It depends of your pneumatic pump, with 4 hand pump and air tank I think arround 45psi (3bar).
Hi!How many pressure dos the pneumatic motor need? thank you.
Comments are closed.